
Part Two -
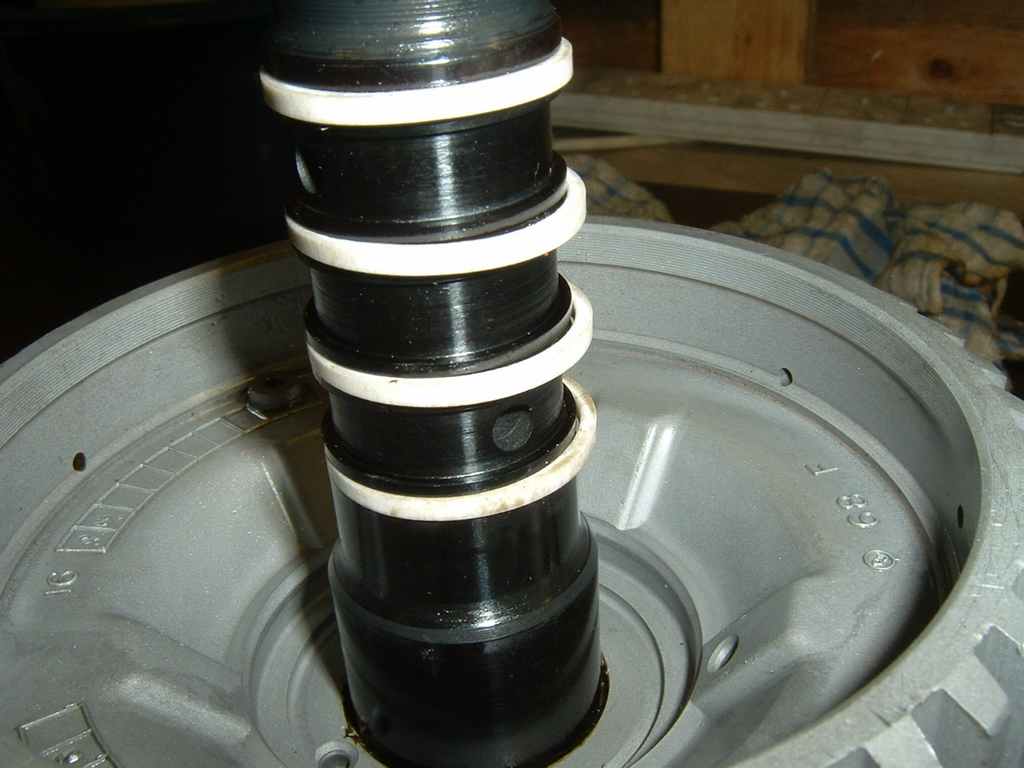
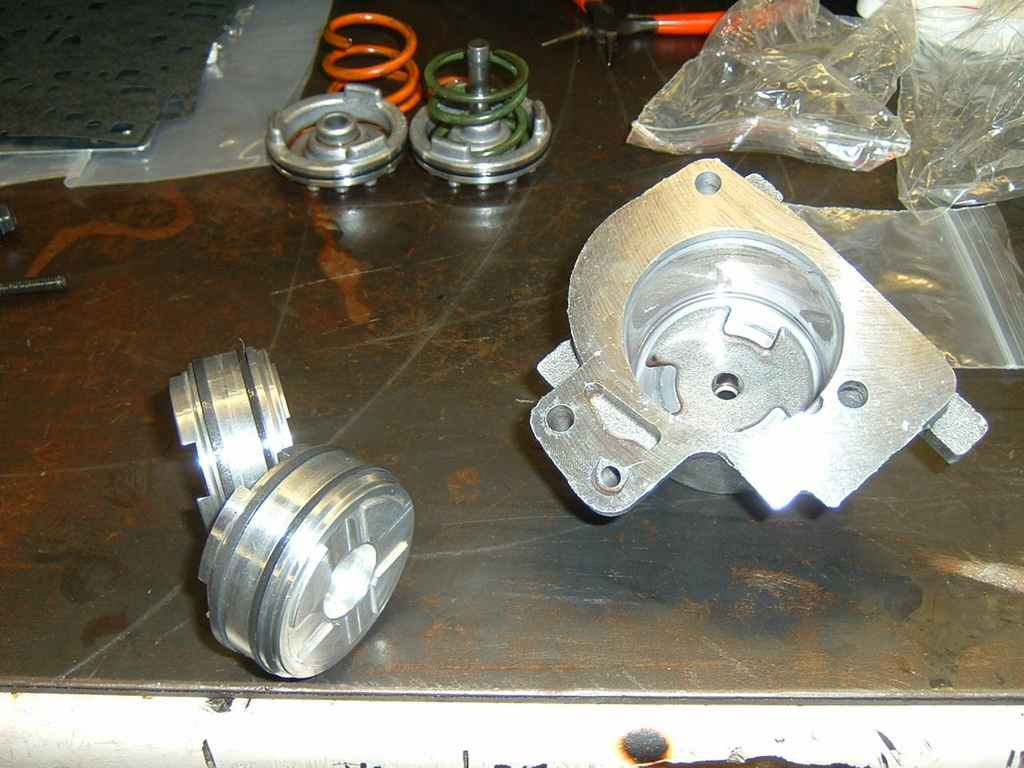
Torque Drive Input Drum
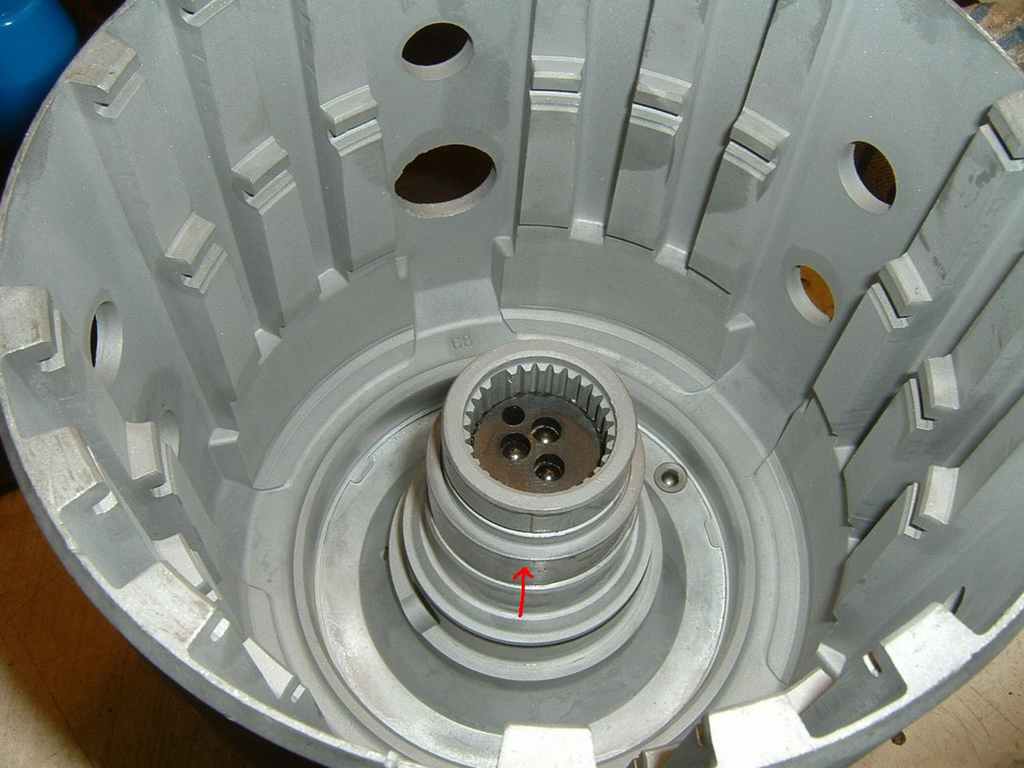
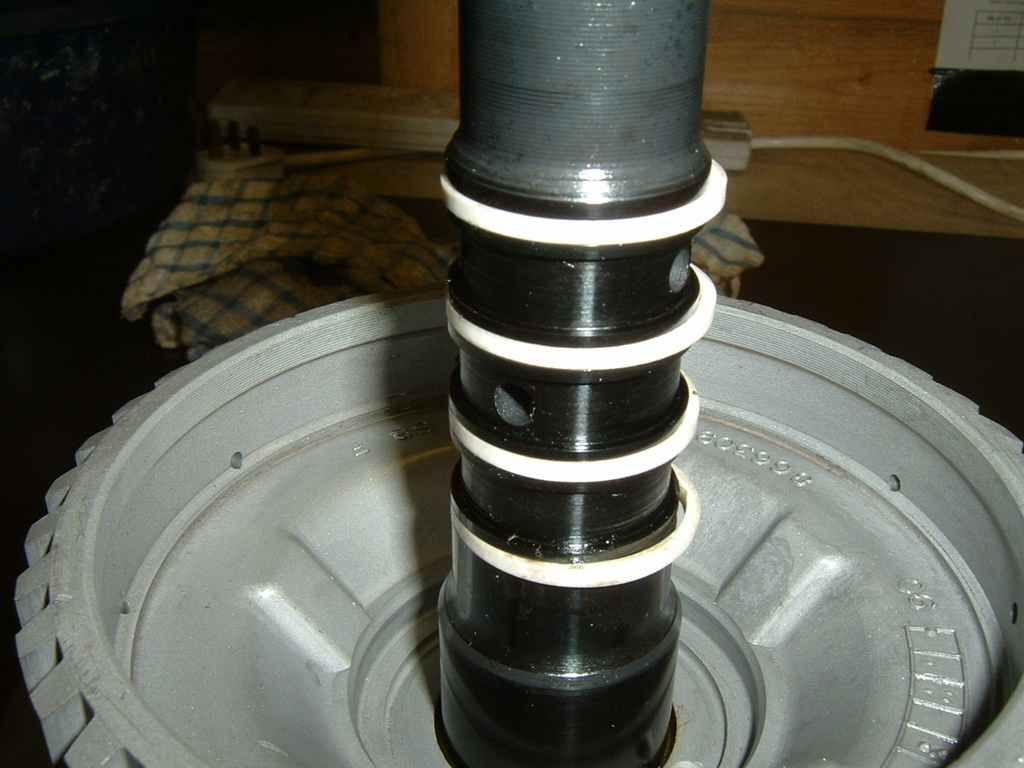
Here you can see the Torque Drive Engineering Mods on the drum. They press a spacer
over the shaft (arrowed) to re-
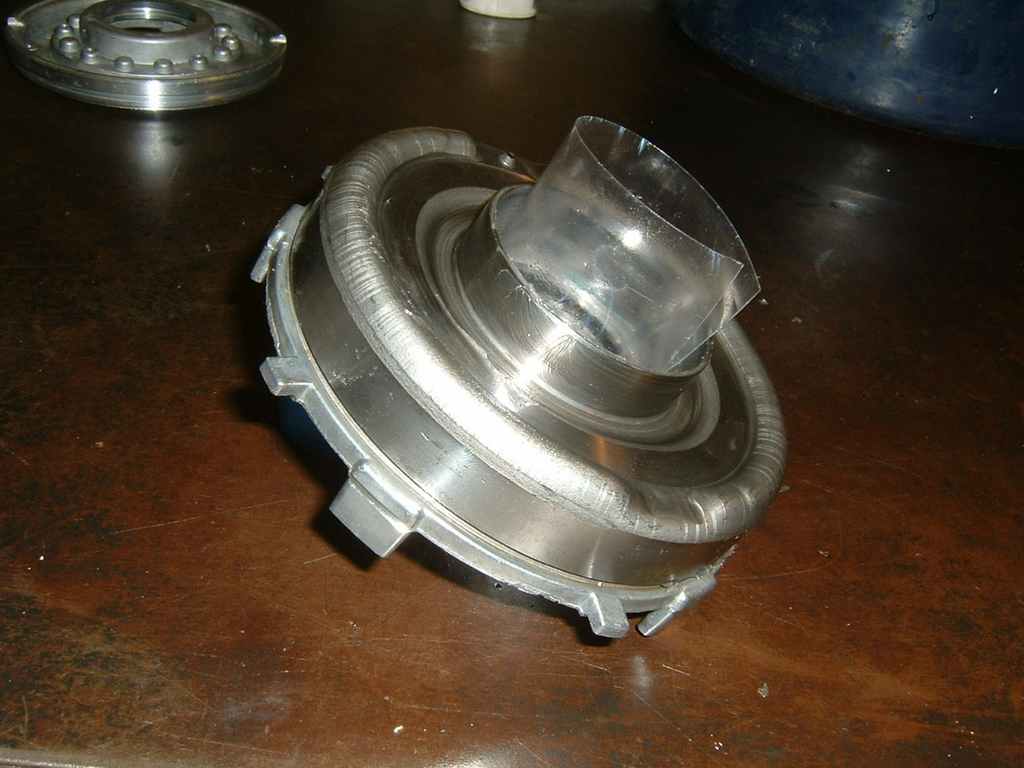
It is at this point the ATSG manual is unhelpful. It says to put the steel piston into the case and then insert the forward piston on top. This in my opinion is impossible as you cant guide the lip seal into the steel piston. So my way is to attach the steel piston to the back of the forward piston and hold it in place with plenty of jelly. Then use the peice of mylar to guide the inner seal over the drum center.
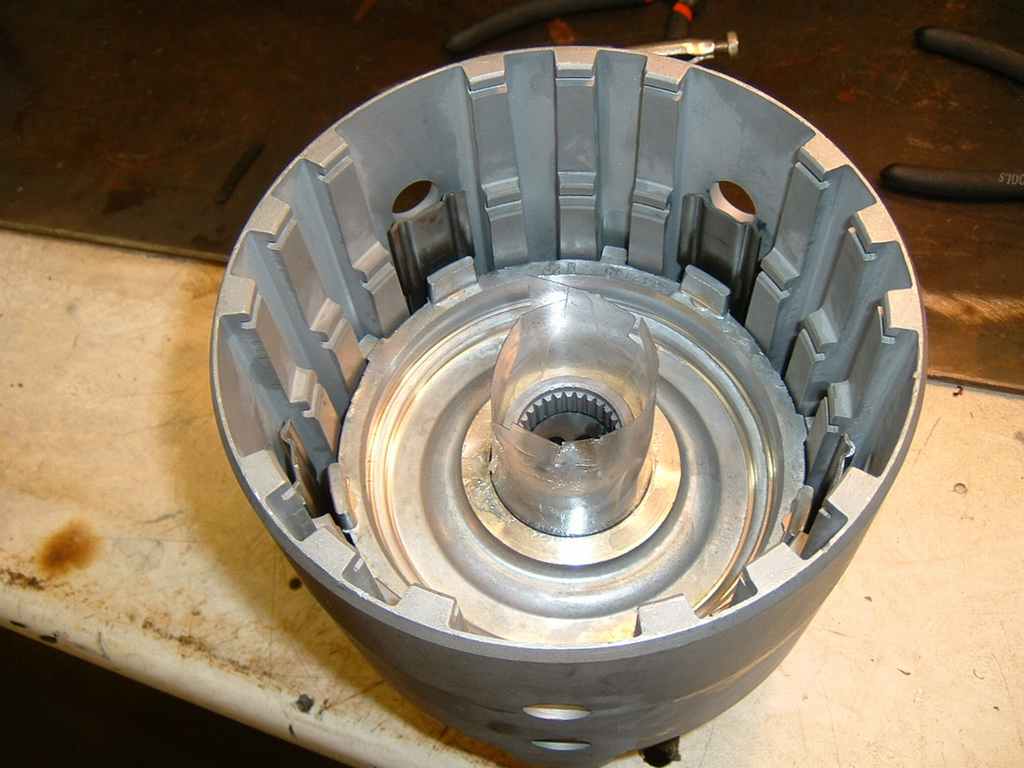
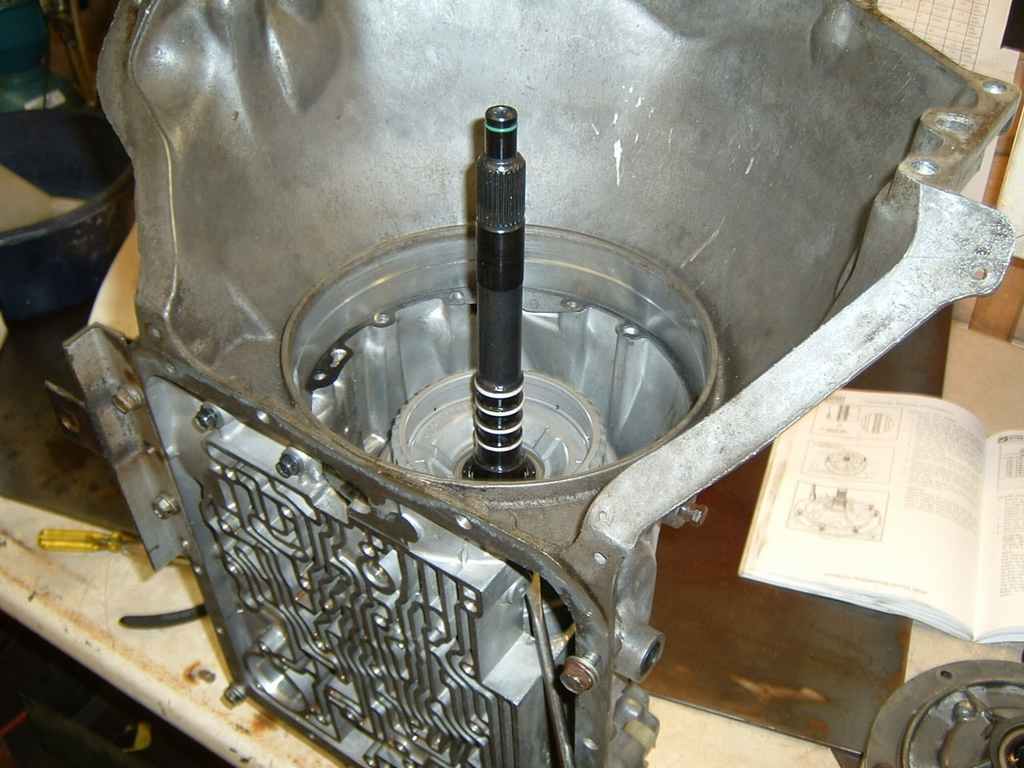
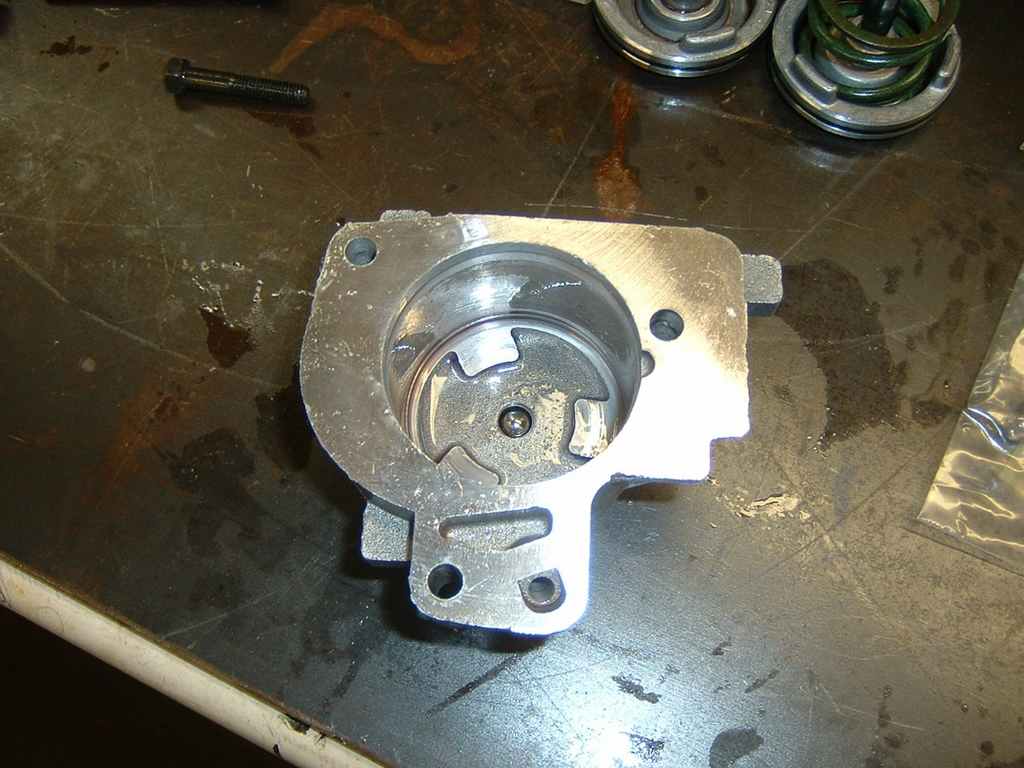
The overrun piston can be simply guided into place, because the TDE modified one uses an O ring instead of a lip seal. (otherwise you could use the mylar sheet trick again)

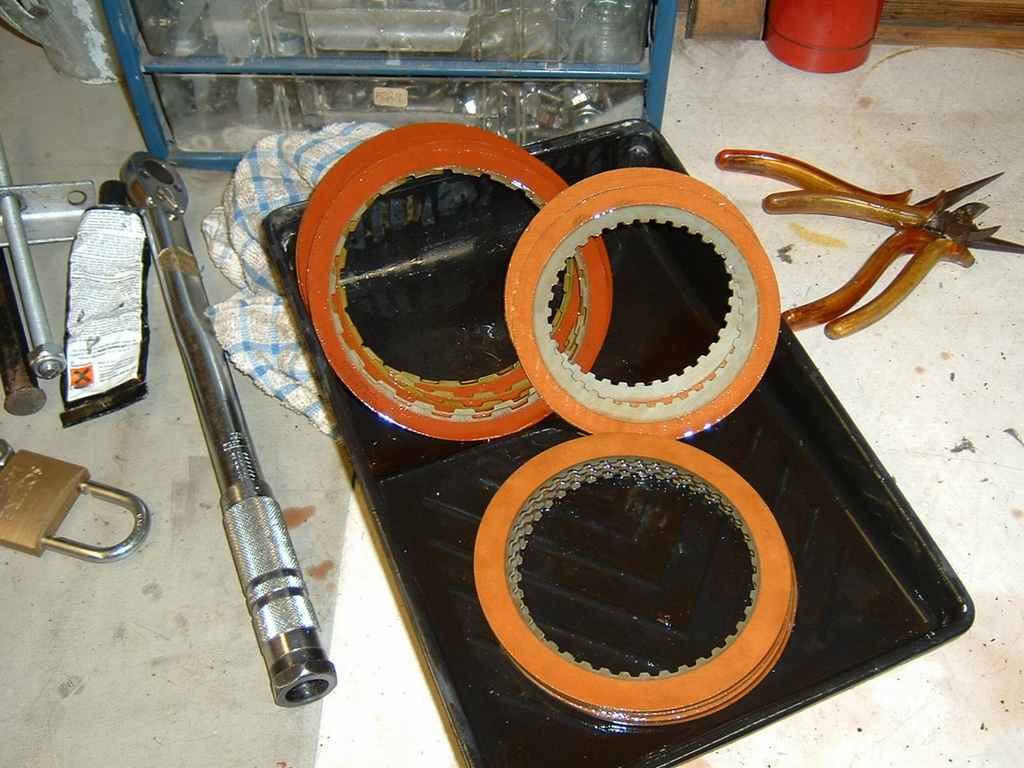
Here's the stackup the the PATC 8 plate clutch pack. Gives about 65' clearance
The pistons can be air-
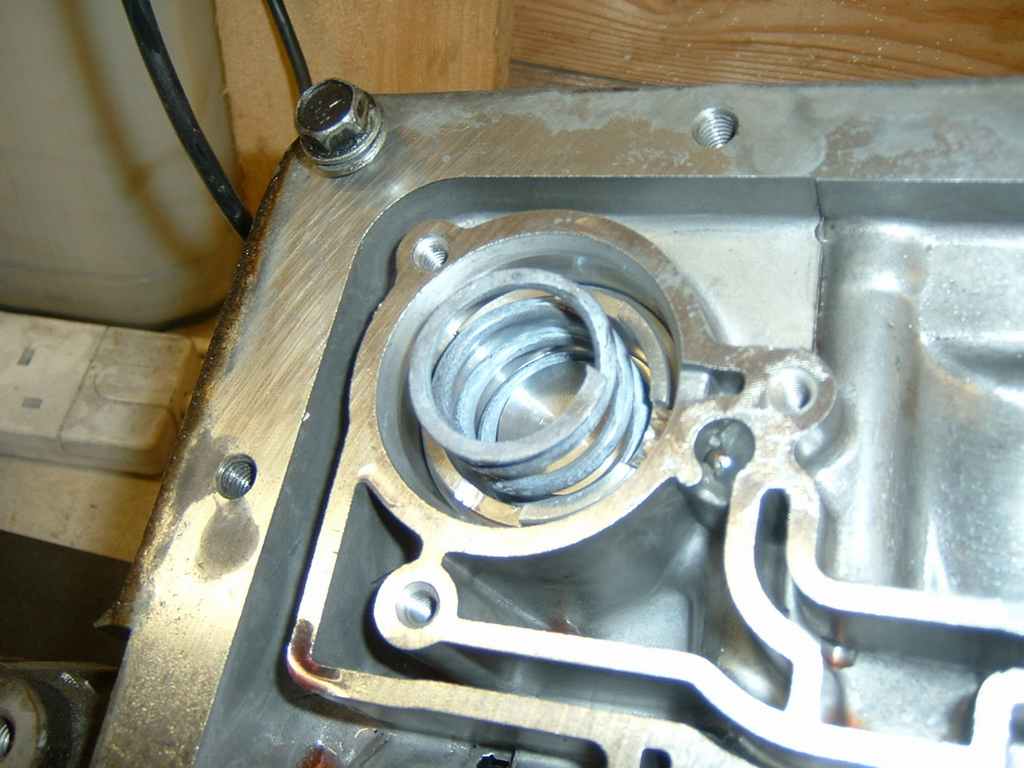
Front pump selective washer selection
To make life quicker and easier, remove the o-
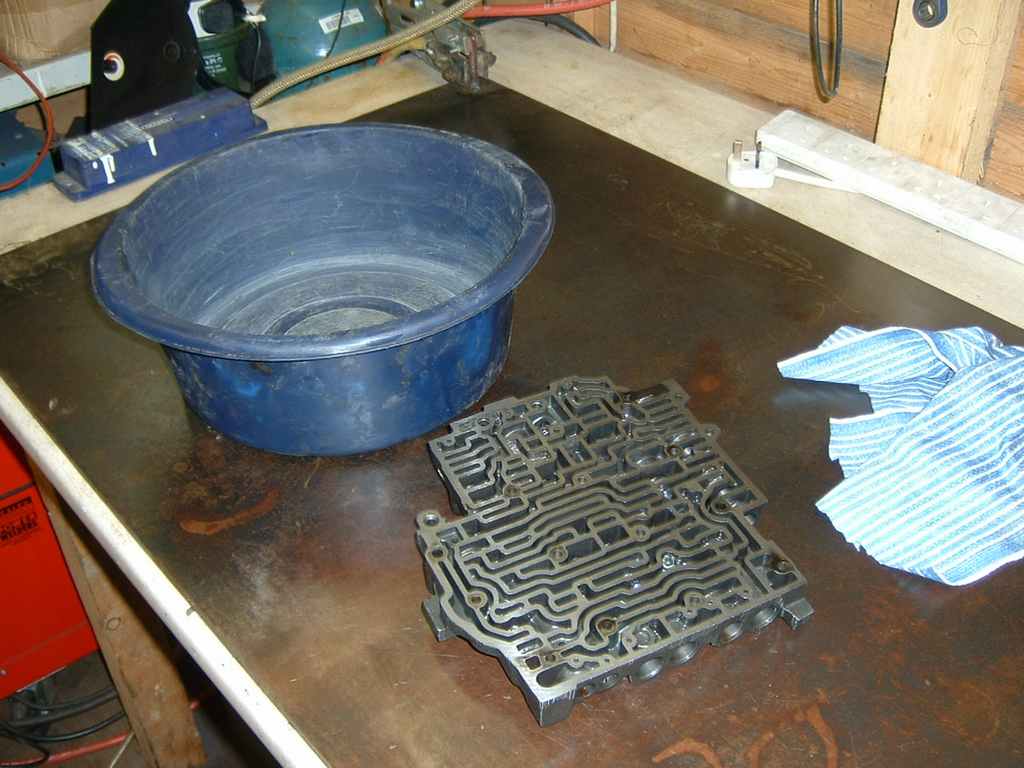
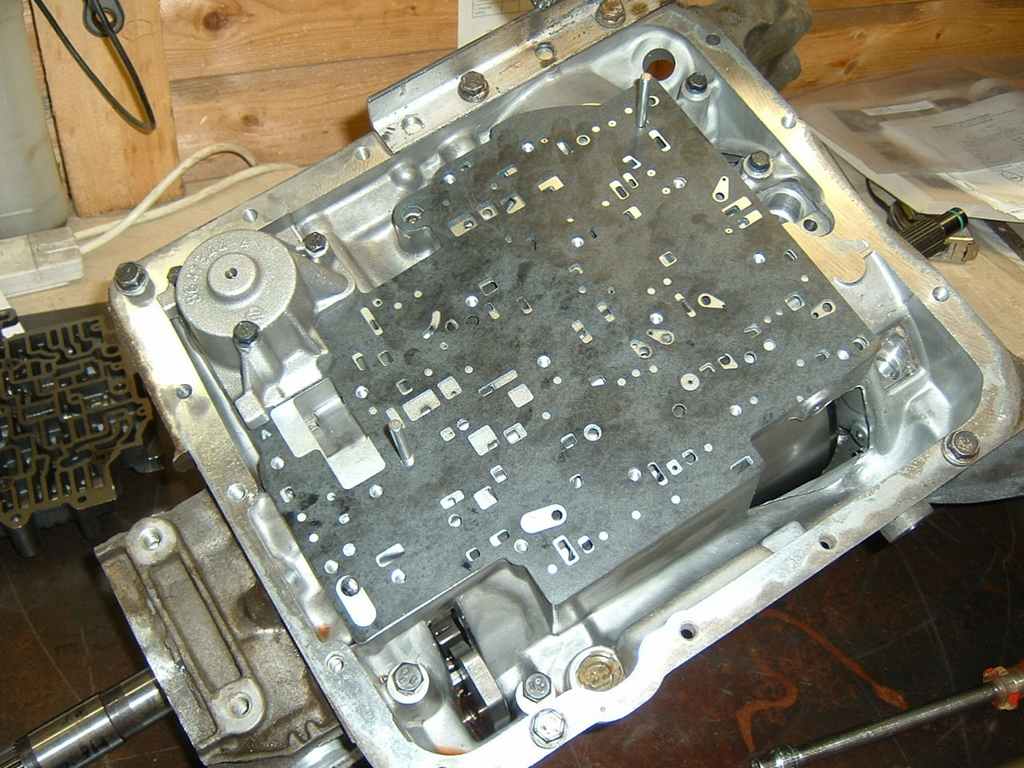
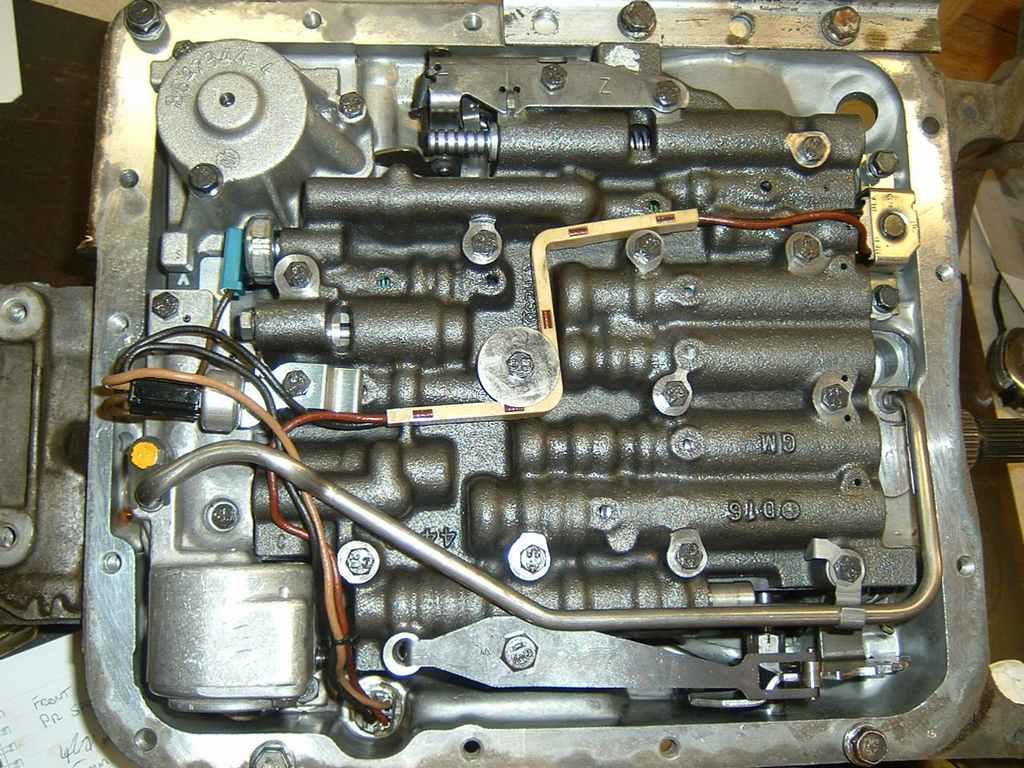
Valve body rebuild
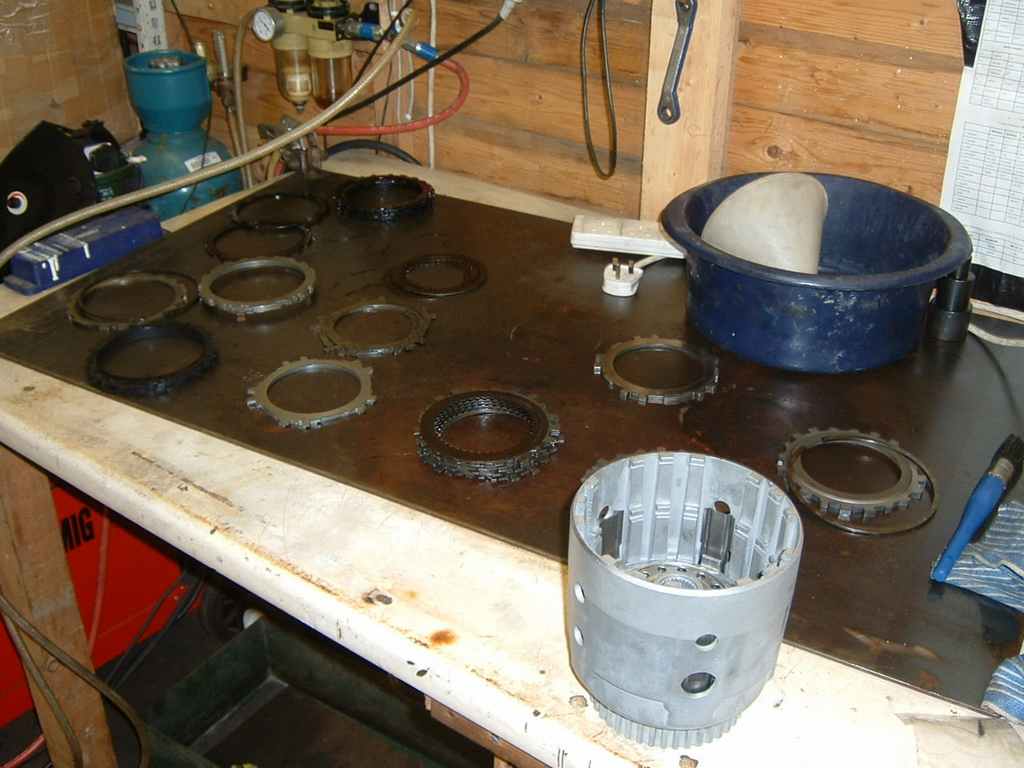
Cleanliness is key here. The body is stripped down, carefully laying everything out and washing it all down in powerful solvent (Tric)
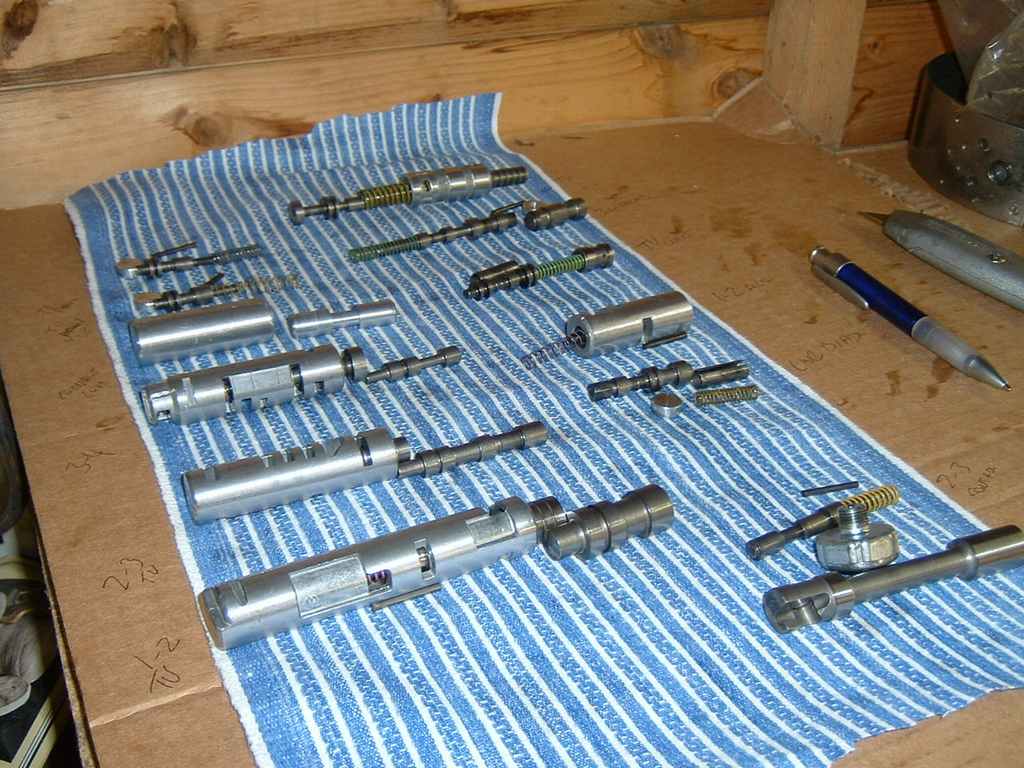

I fitted pinless acumalator pistons. They use Teflon rings like the input shaft; I found that the housing made a good rezing tool. Poking a screwdriver through the hole in end allows you to get the pistons out before blocking the hole with a ball bearing.
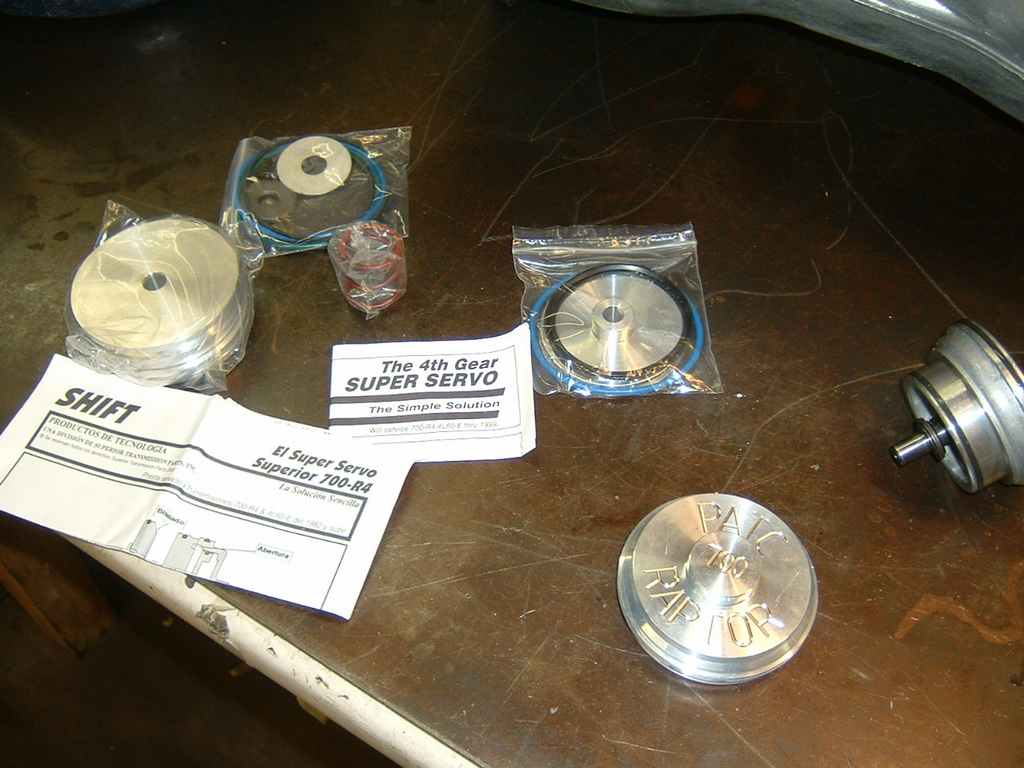
Vavle body goes back on, along with Super 2nd and 4th servos.
25/09/05
Update -
Still holding. Done about 500-
Still working. Done 1100 miles now. Pulled the pan off to re-
Ive also rebuilt my '85 box to the same spec (except for the 5 pinion plannets and
hardened input shaft) -
27/9/06
Update -
19/2/2007
Update -
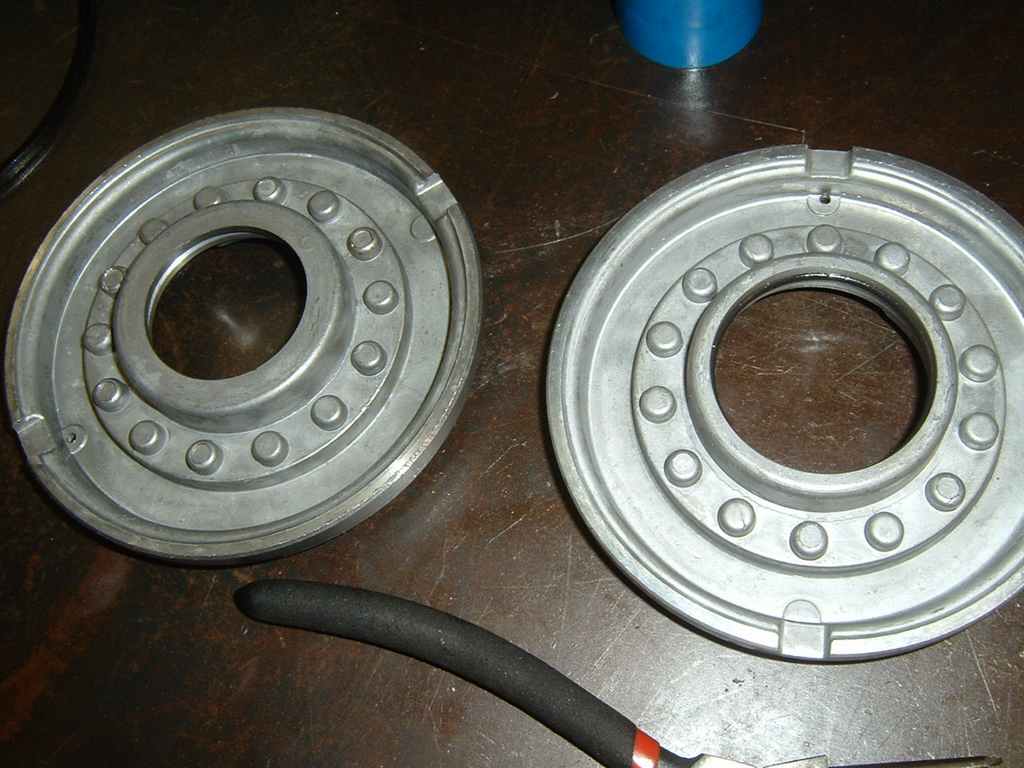
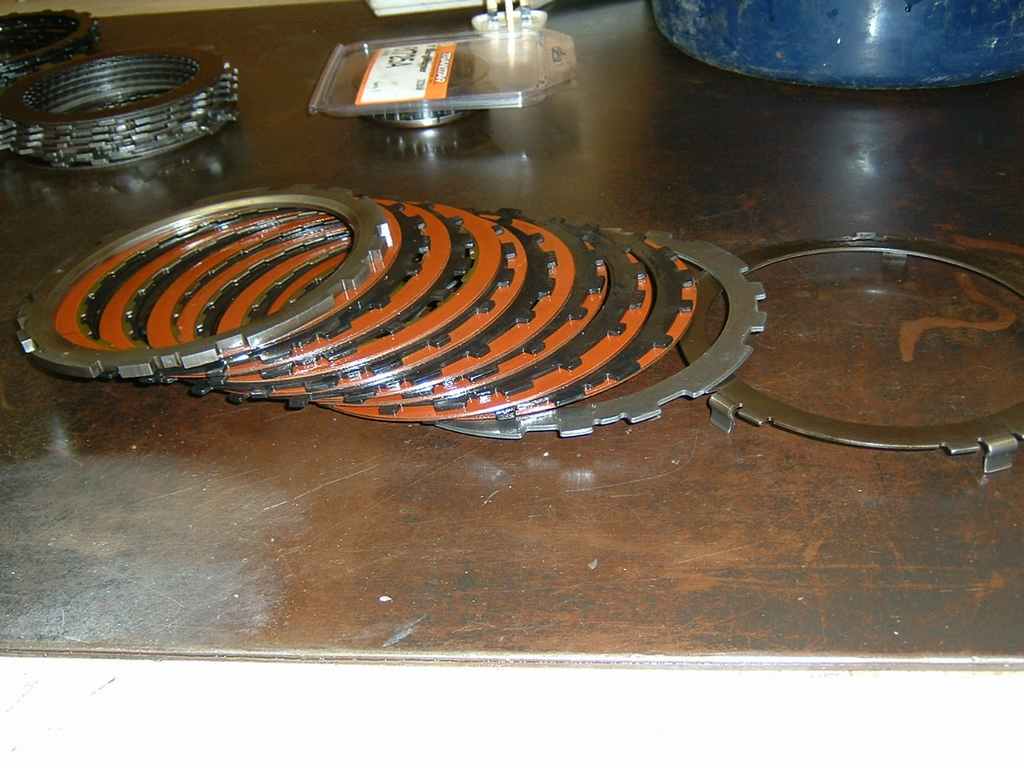
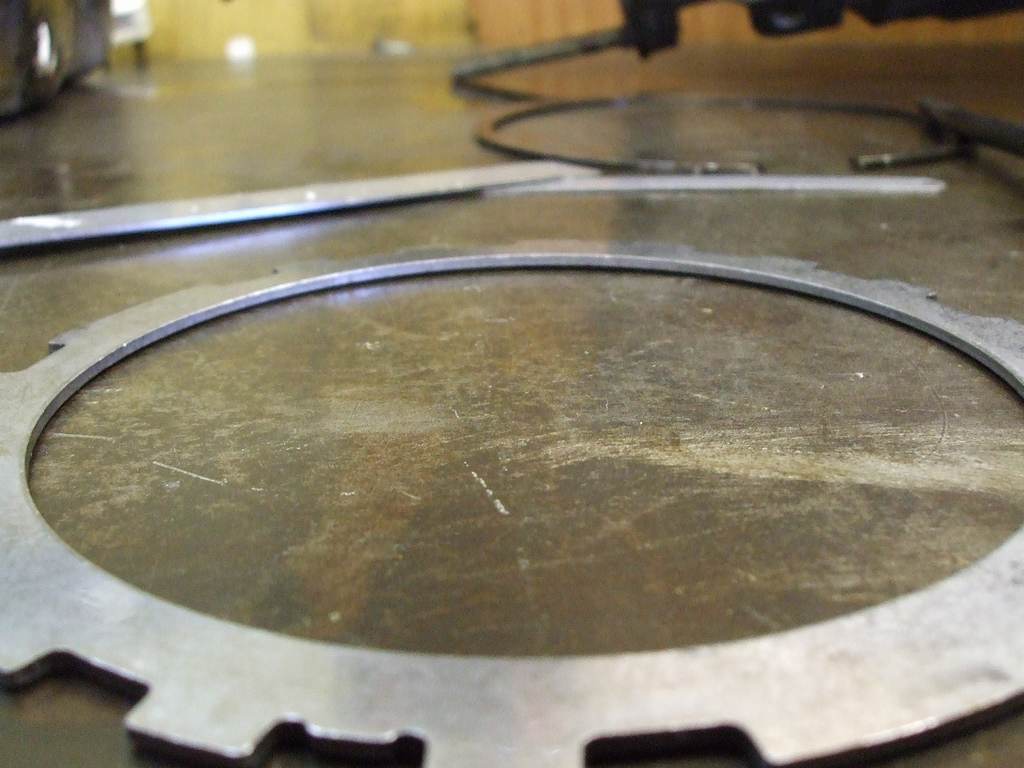
Looks like the lowest pressure plate has cupped, causing all the other steels to
cup -
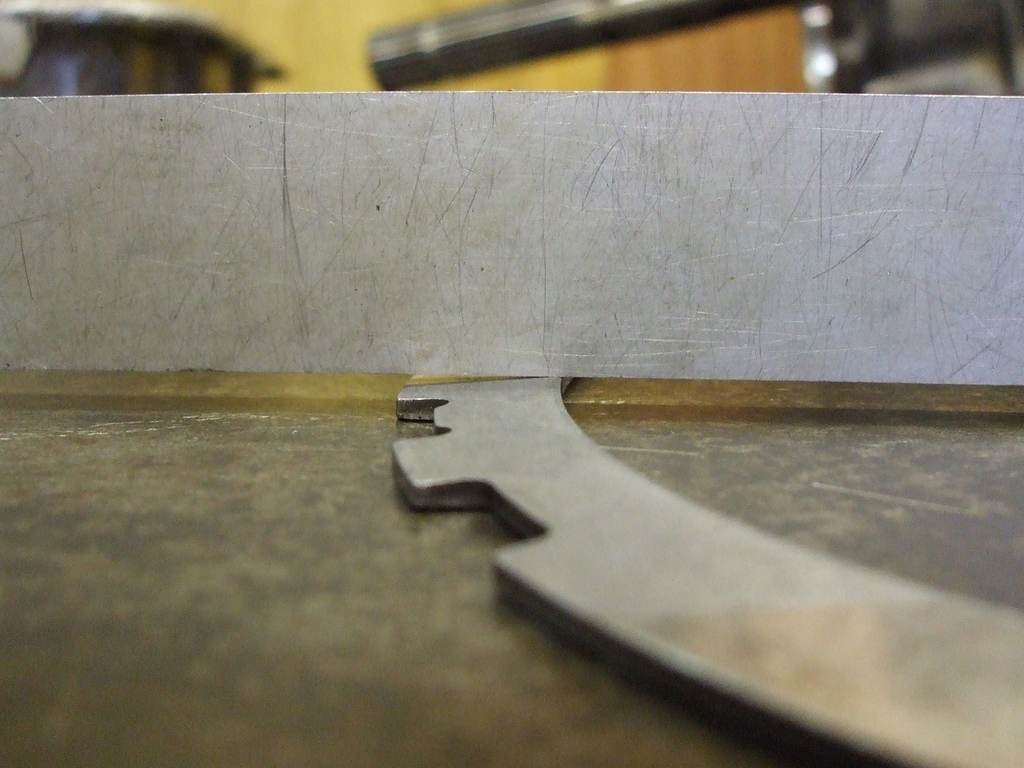
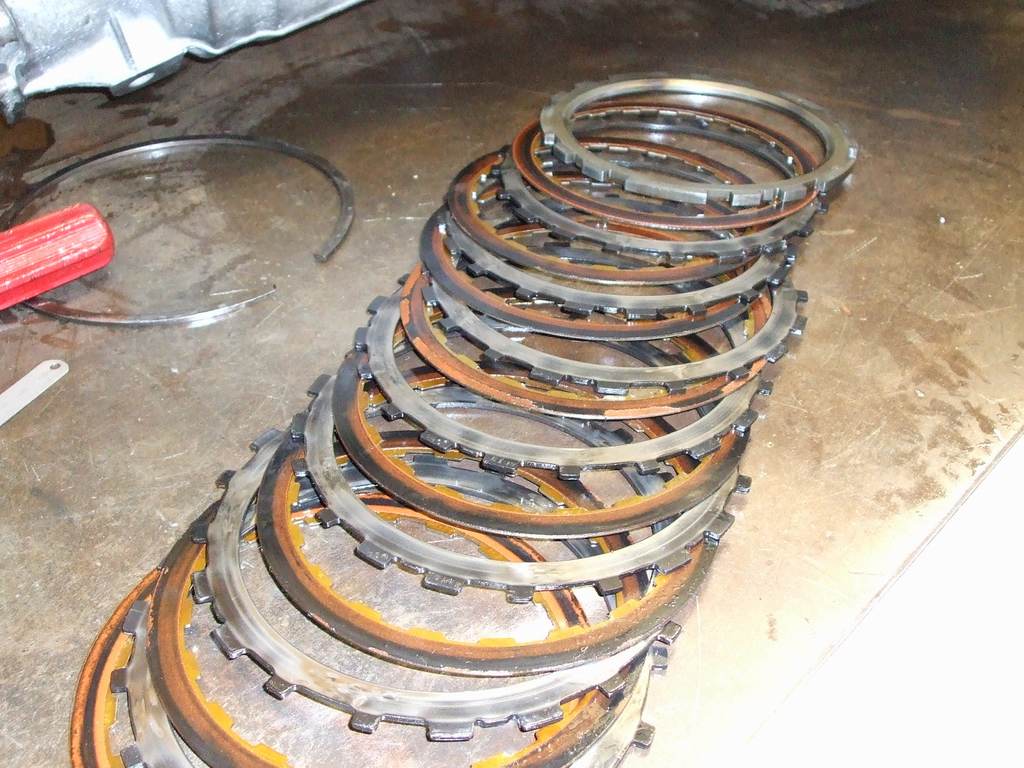
There appears to be some confusion on the correct stackup order for these clutches. Dont assume this is the correct order:
24/02/2007
Refitted my spare 400BHP spec 700r4. This was built as a standby unit to the same spec as above, but std input shaft and std 4 pinion plannets. Works at treat and ive cured a 3/2 downshift problem it had before the rebuild. It has the same shift feel as my 600bhp box, so the combination of parts is clearly good. (And I've got the knack of assembling them!) 15/04/2007
600BHP Spec box back in. I Replaced the burnt alto 8 plate clutch with a Raybestos
Z-
Done 1000 miles on the Z-
Done 1700 miles on the Z-
2500 miles on the Z-