New Views Page 4/5
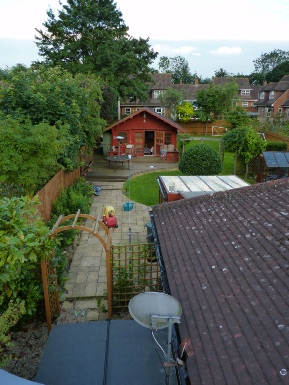
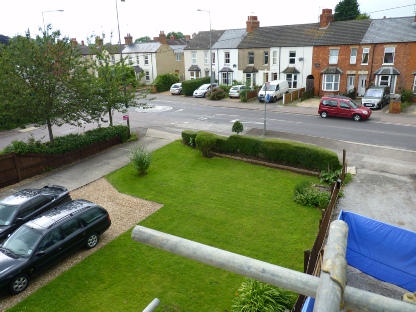
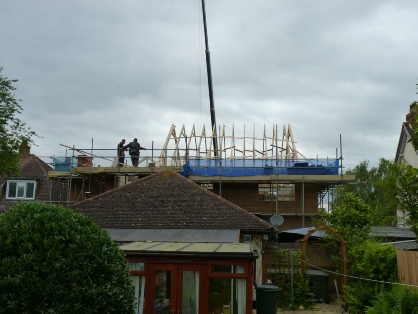
What was quite exciting for me was actually getting a view of my surroundings, something you don’t get living in a bungalow!
You can see the lodge in the garden, this is where we slept.

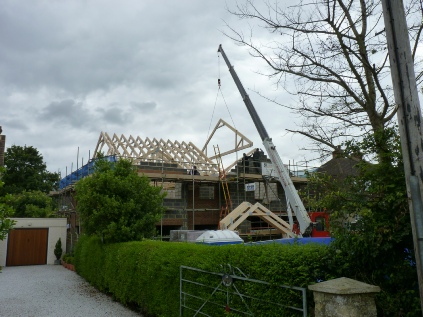
Roof goes on
I specified attic trusses, which will allow for an easy loft conversion in the future
-


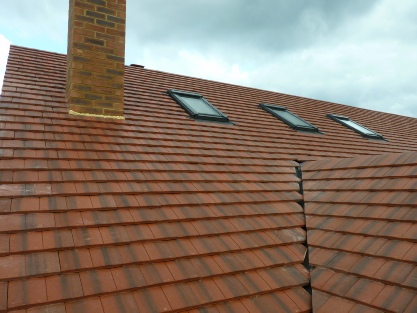
The resulting loft space was somewhat of a revelation. I also had Velux windows fitted, as its cheaper to do now rather than later.
First fix and home automation
No new build can be complete without home automation. Unfortunately the cost of automation is at at odds with the tightly controlled budget for the build.
So right from the outset even whilst I was still at the drawings stage, I had figured out how I wanted everything setup.
All Lighting circuits have been wired to allow for 3 configurations:
1) Standard switches on the wall 2)Automated switches in the wall 3)Centralised control of lighting
The approach is relatively simple, first you ensure that all ceiling lighting circuits return to the light switch on the wall, rather than the normal approach of just running a switching pair from the ceiling to the wall.
Secondly ensure that all boxes on the wall are 47mm deep -
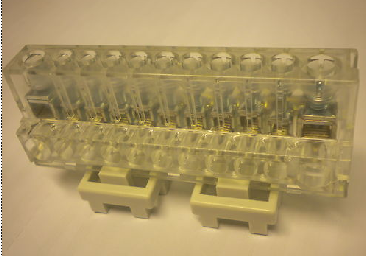
Thirdly, all lighting circuits are home run to a central point -
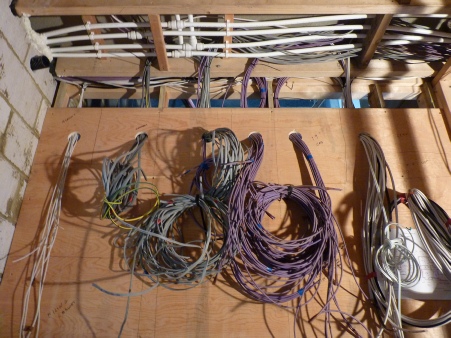
This is a dual 12 way DIN rail enclosure using Gewiss Din rail mounted terminal blocks (Gewiss part no GW44675, with two DIN rail mounting clips GW44681) which are used to terminate the lighting circuits.
The top row is for first floor lighting and the bottom for ground floor -