
Air -
Well I think it would be fair to say that I have done chargecooling to death. I have experimented and optimised the system about as much as possible, I could improve things here and there, but I'm now interested to see how my chargecooler creation compares with a simple front mount intercooler. Of course, I will be datalogging everything and publishing the results.
The main challenge is to fit one to the front of the car without cutting any holes in the yellow body work. I've sat down with the tape measure and worked out what size intercooler I could fit. I've based it around generic cheap ebay intercoolers, as I want to minimise expense for now.
Placement Planning
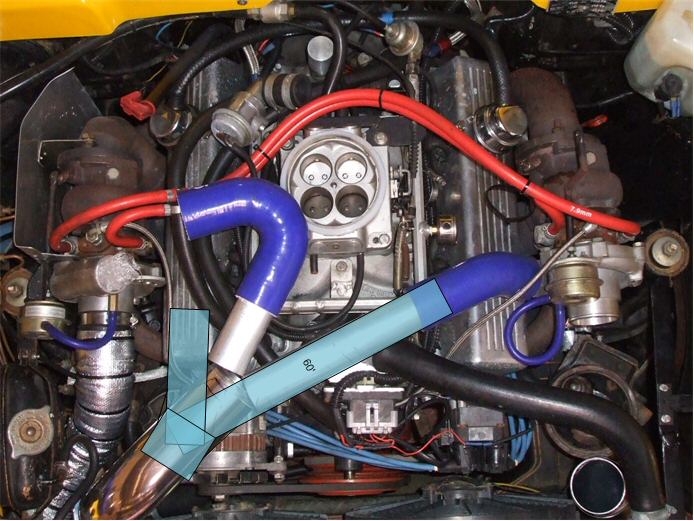
Ok time for some Rolf Harris, "Can you guess what it is yet":
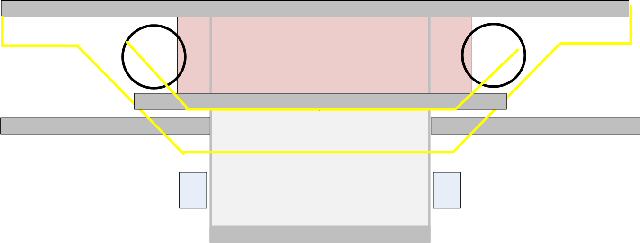
What about now, with a 600MM el-
Now with a 450mm on the front:
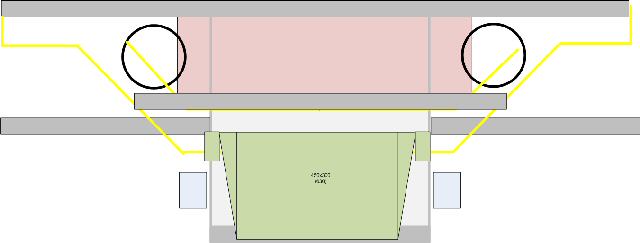
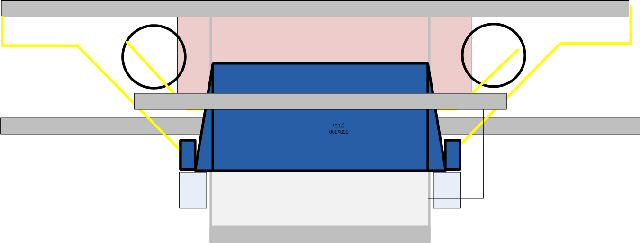
This is the one I have purchased. I avoided temptation to purchase the longer one for a couple of reasons:
Corky Bells turbo book says taller is better than longer, which i agree with.
Doesn't obstruct radiator (shown in light red)
It fits between the chassis, into better air flow And I could potentially buy another
and weld it into a much bigger one: 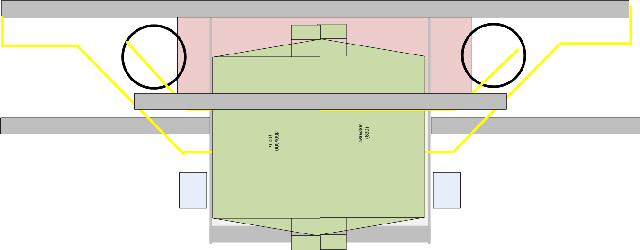
(Crikey -
Carb hat
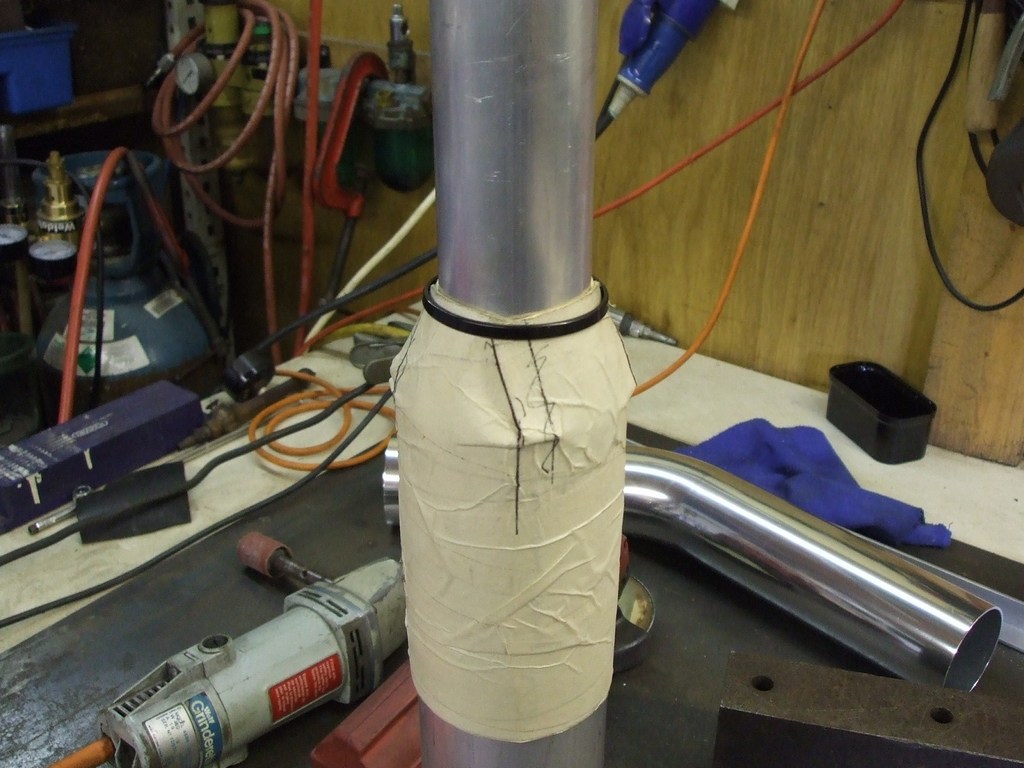
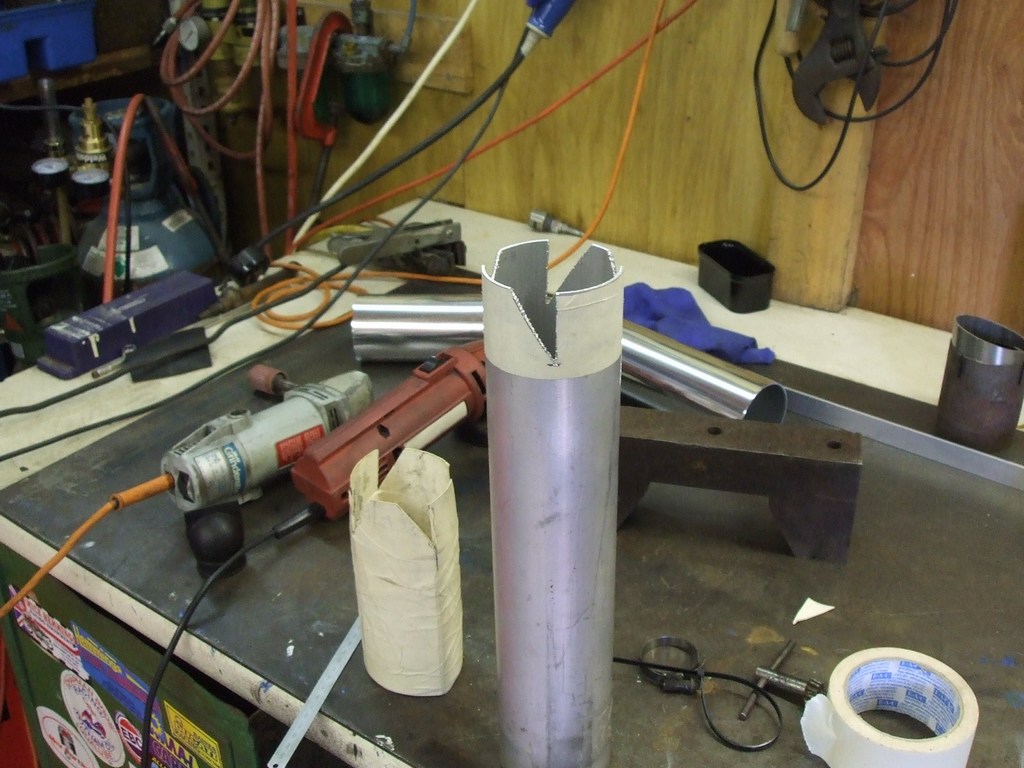
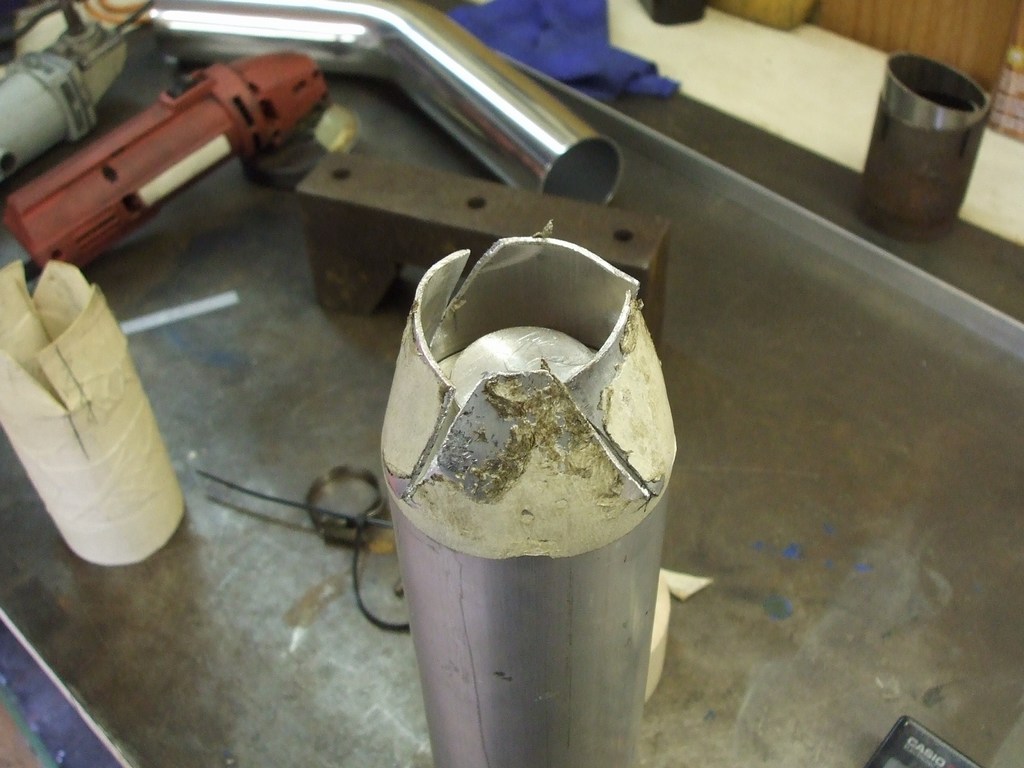
So whilst I wait for my parts to arrive, I began with making a new carb-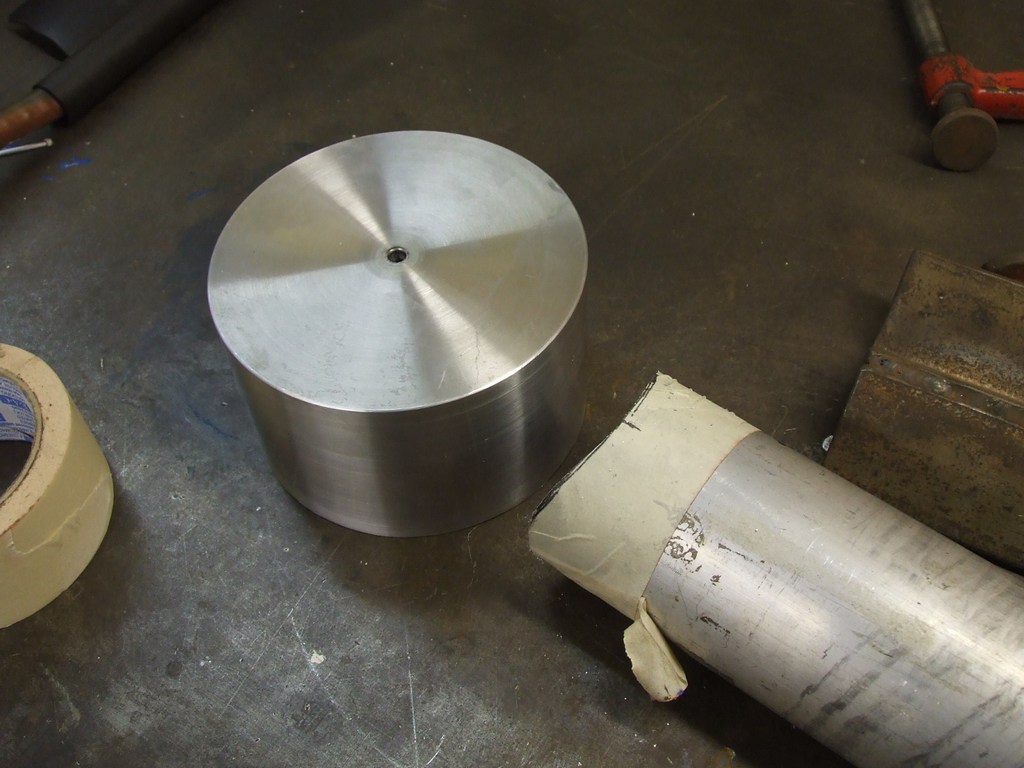
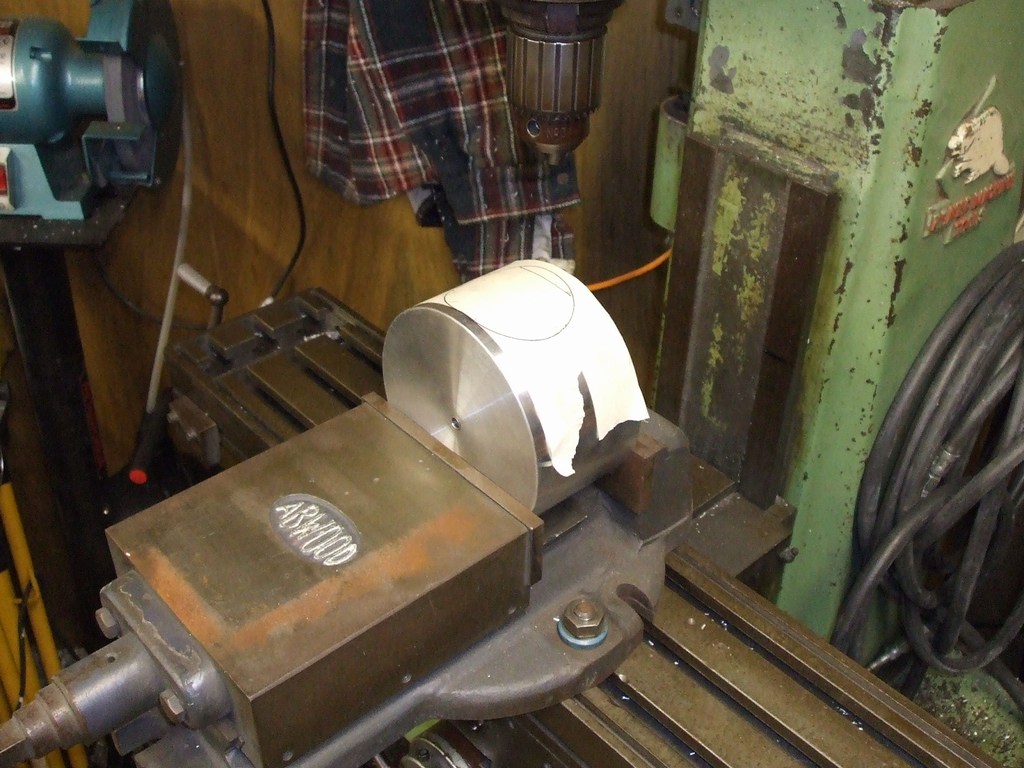
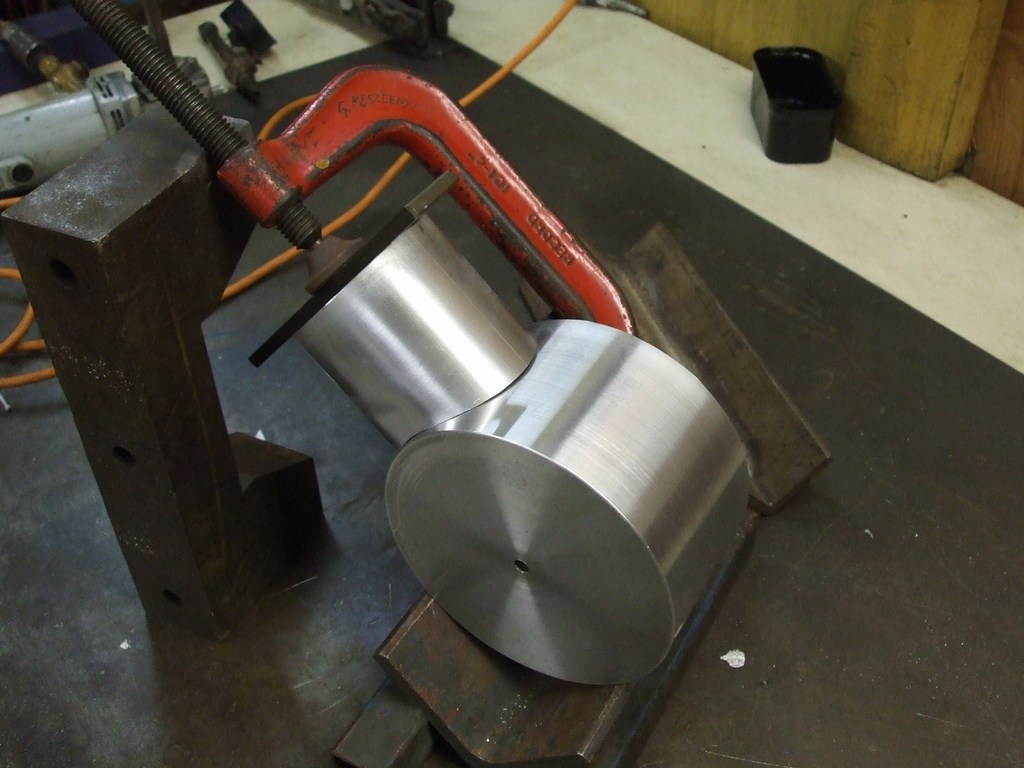
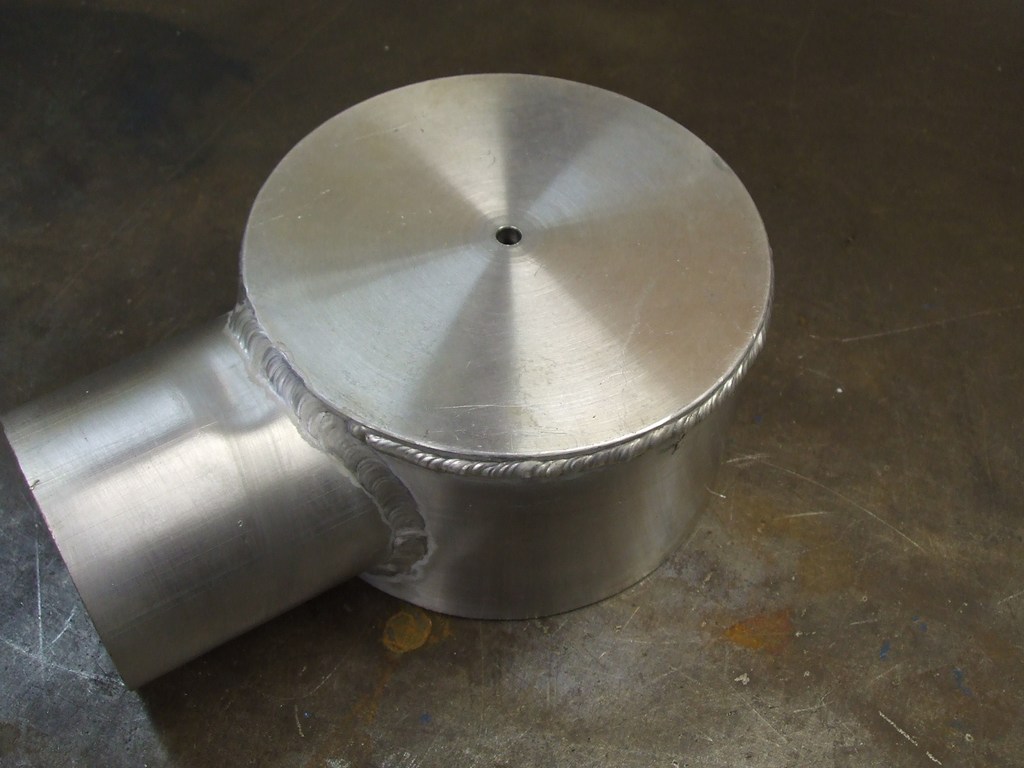
Next I welded the 3" pipe on. Quite tricky, because the main part is 6mm thick and the tube is 1.5mm thick. I pre heated it with a propane torch, which allows the weld to start quickly and easily. During the weld, the previous weld for the "top hat" opened up a bit, so i decided to run a bead all the way around.
20/7/08Parts all arrived. Intercooler seems ok -
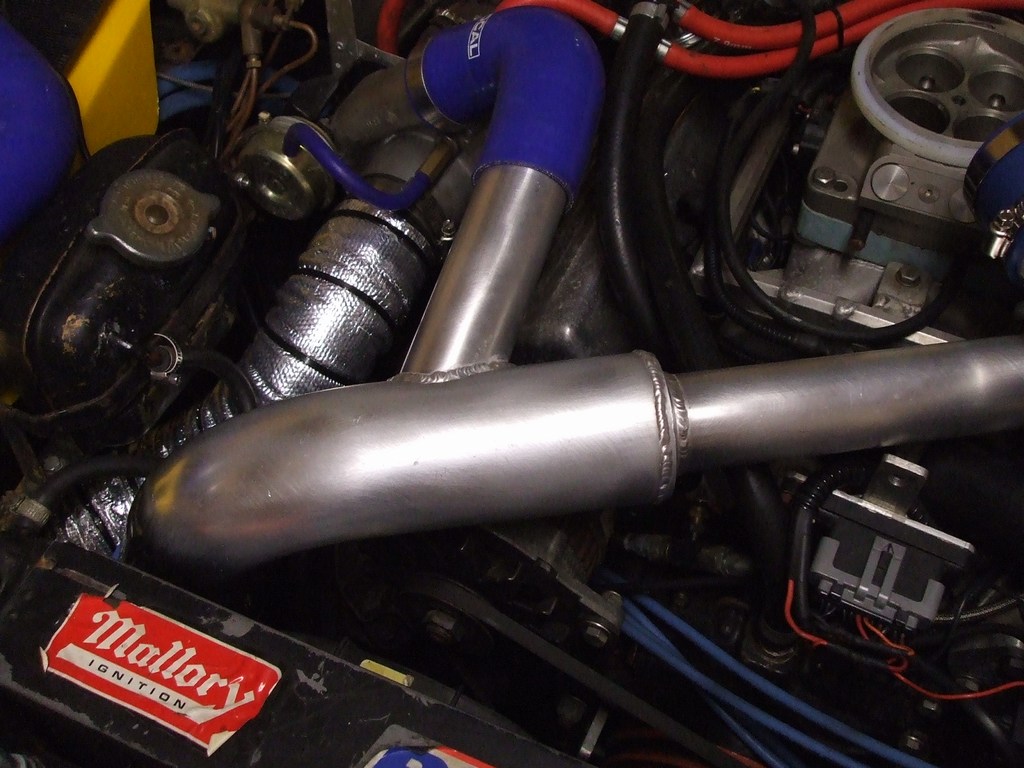
 Once I had it positioned, the bulk of the piping was surprisingly straightforward.
The 3" piping kit seemed to have just the right bends to get me round the bodywork.Next
up was merging the 2" pipe into the 3" pipe -
Once I had it positioned, the bulk of the piping was surprisingly straightforward.
The 3" piping kit seemed to have just the right bends to get me round the bodywork.Next
up was merging the 2" pipe into the 3" pipe -
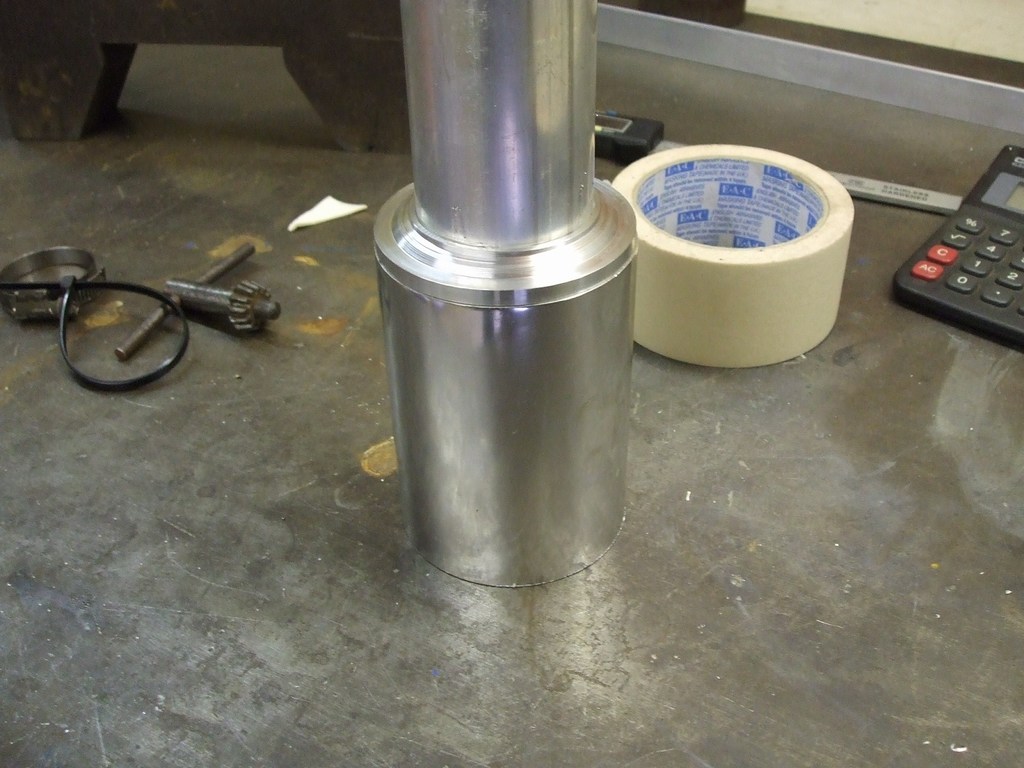
It didn't work, so I just made a sleeve on the lathe:
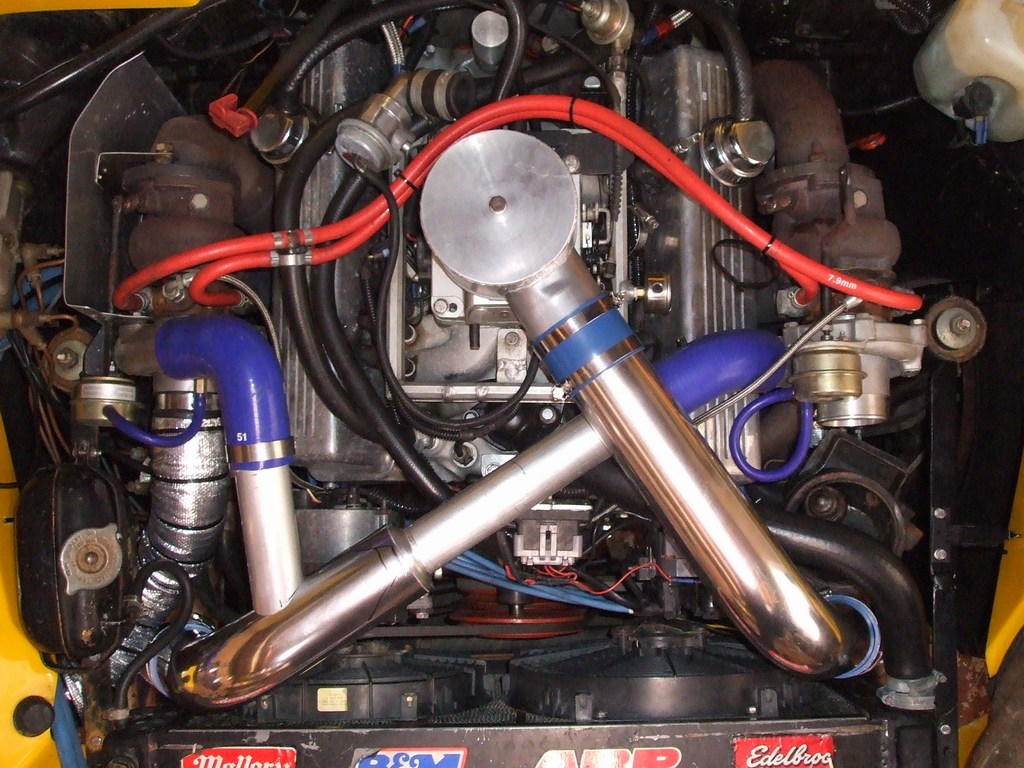
And here's where I'm at. The only part I'm not happy with is where the left turbo merges into the 3" pipe. I keep telling myself its only a prototype and not to worry about it.The problem, is that if I bring the pipe in at a more acute angle, I cant get the welding torch close enough to weld it.
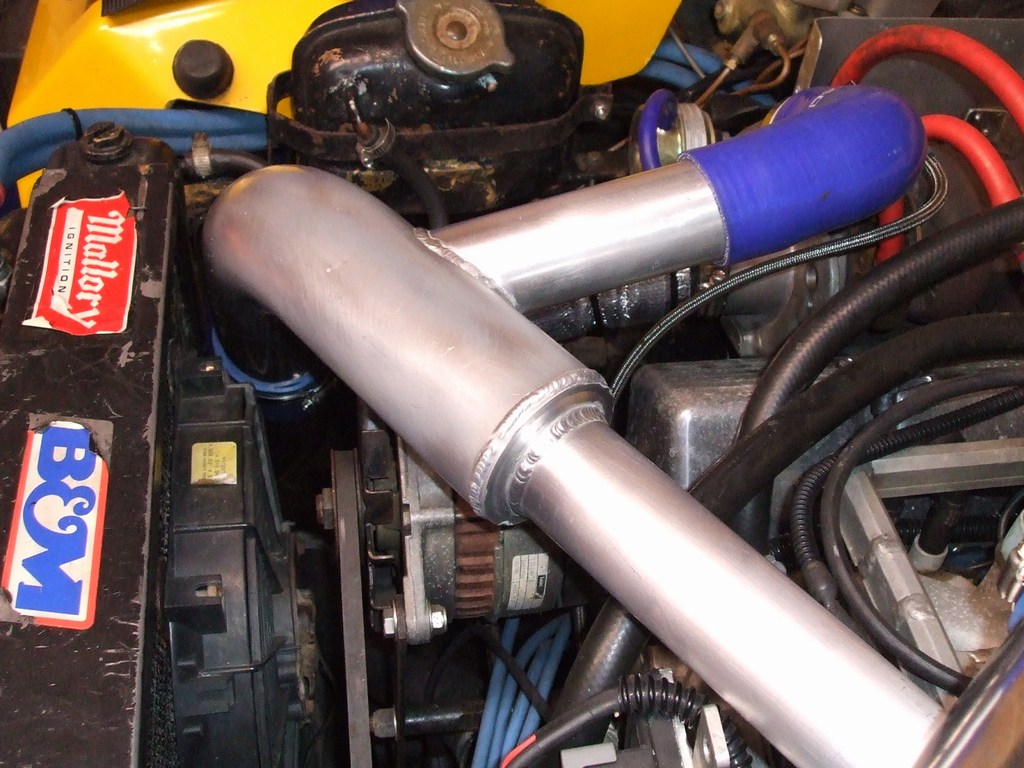
21/7/08After having a long ponder on the train today, I came up with the design below, but decided to just weld up what I had already made to save time.
Fancy shiny ally pipe was a bit of a pain to weld, it needed to be cleaned back down
to bare ally -

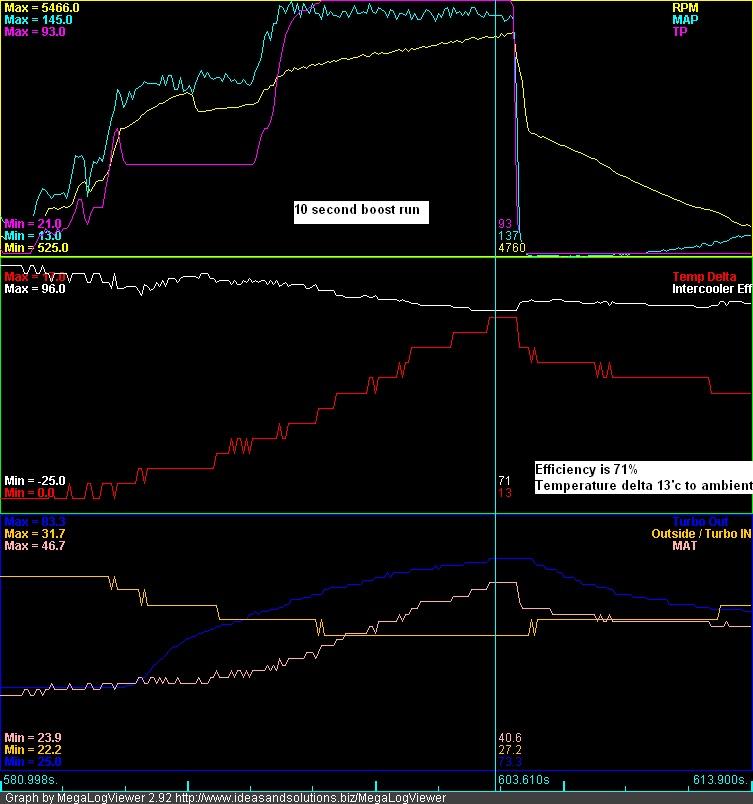
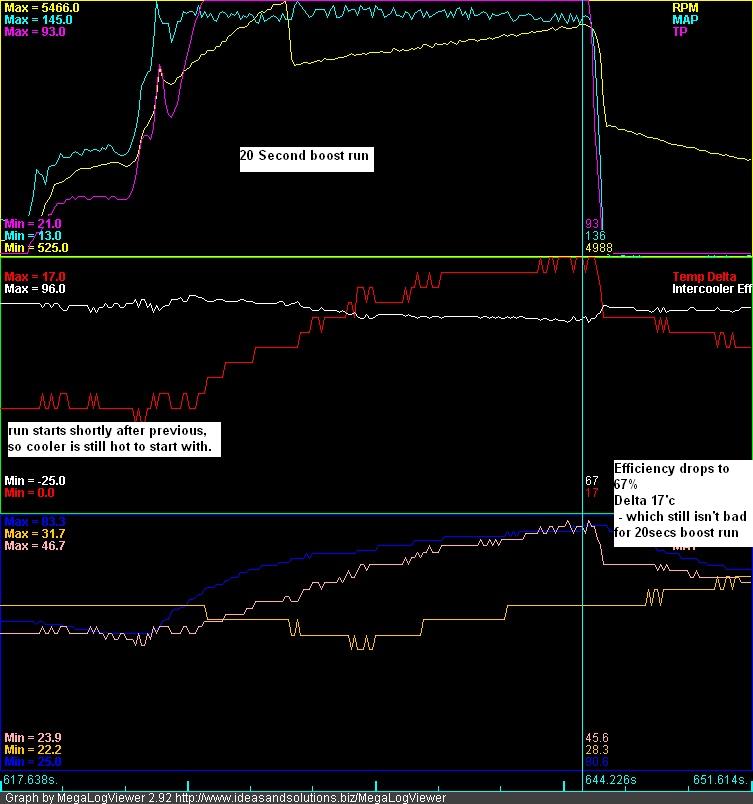
 31/7/08Update, all fitted and working. Datalogs showing around 70-
Im having problems with the pipes blowing of, so a couple of them were welded together. Plus the cheap ebay piping kit only uses cheap pvc couplings (in blue, to look like expensive silicone). Also the ally pipes have clear powder coat on them, so they need sanding before you can weld them.
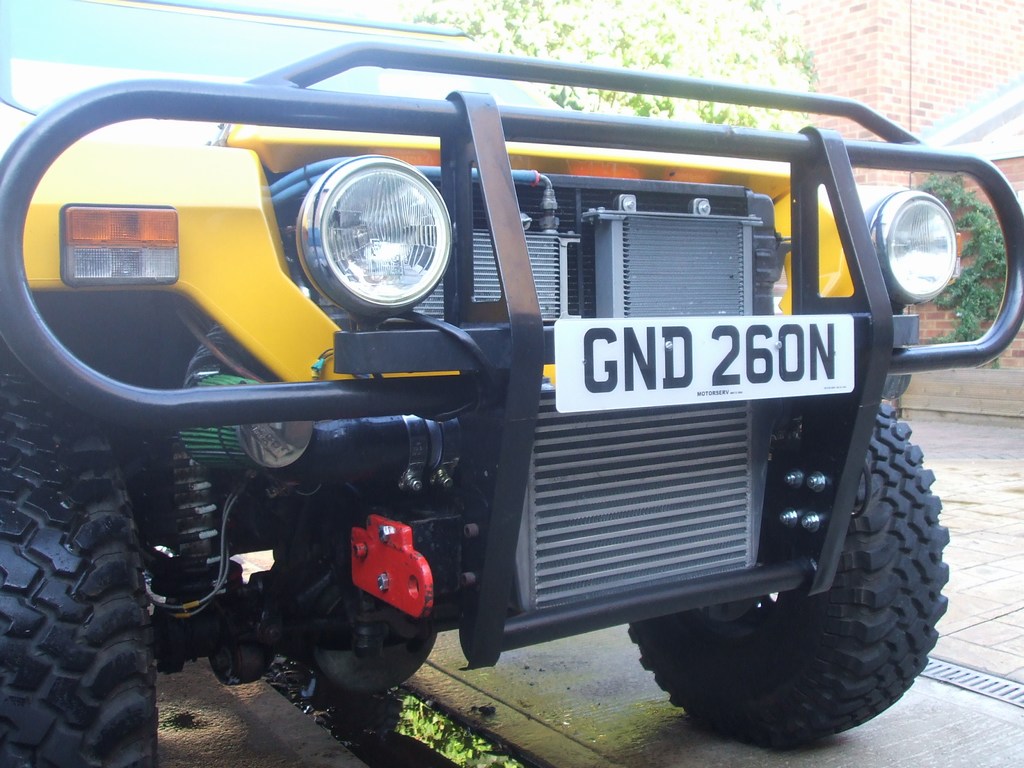
 Next step is to get the bumper fitted. Plan is to move it outwards. 23/8/08
V8-
Replaced all the cheap ebay couplings with proper silcone pipes and decent Mikalor
clamps -
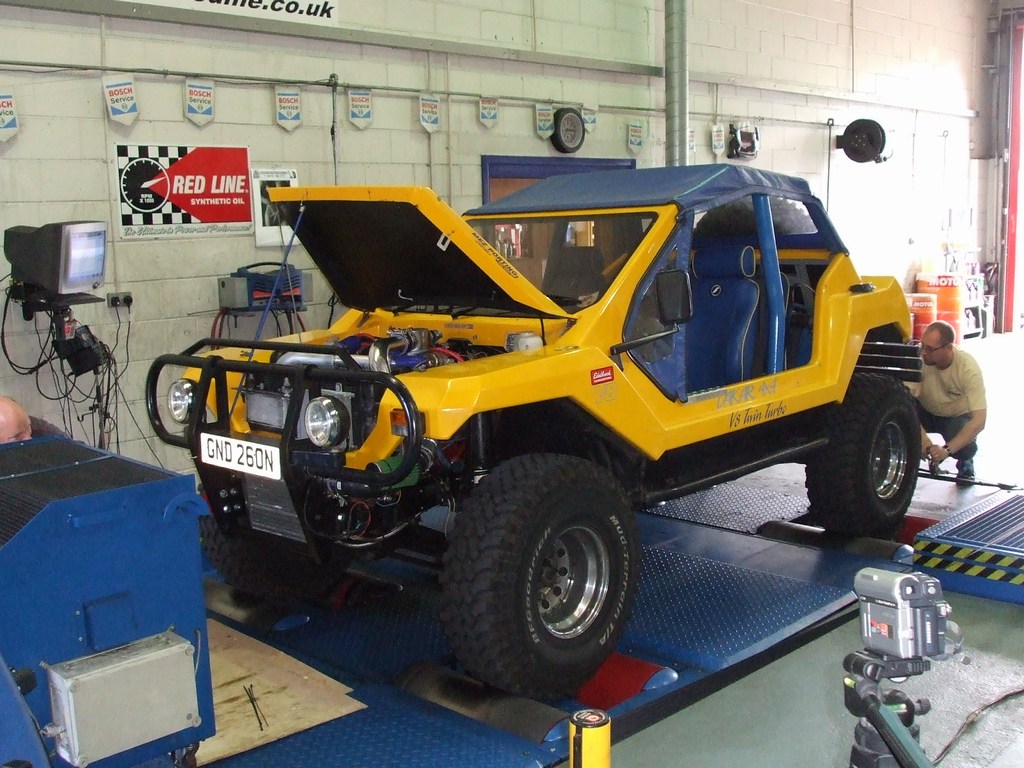
Here's the dyno sheet, which is better than last time -


Notice that the graph stops at 4200 rpm, whereas my datalog has it at 4708. Also
the recorded MPH is 94MPH, whereas last time it was 120MPH -
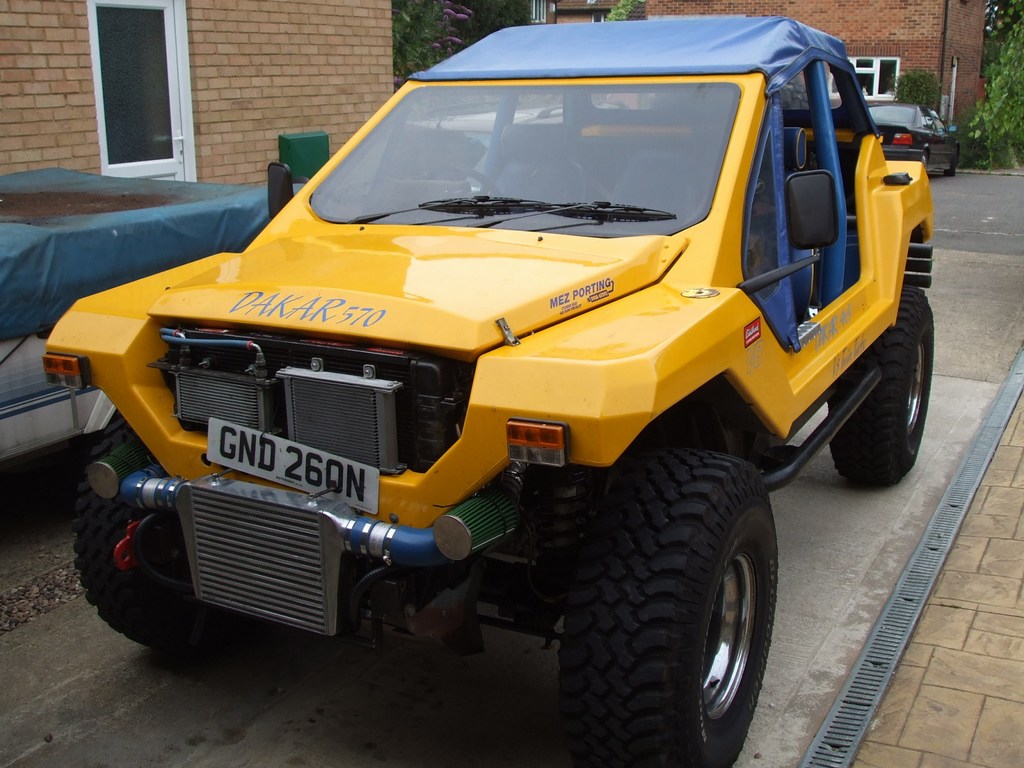
1/10/2008 Photos
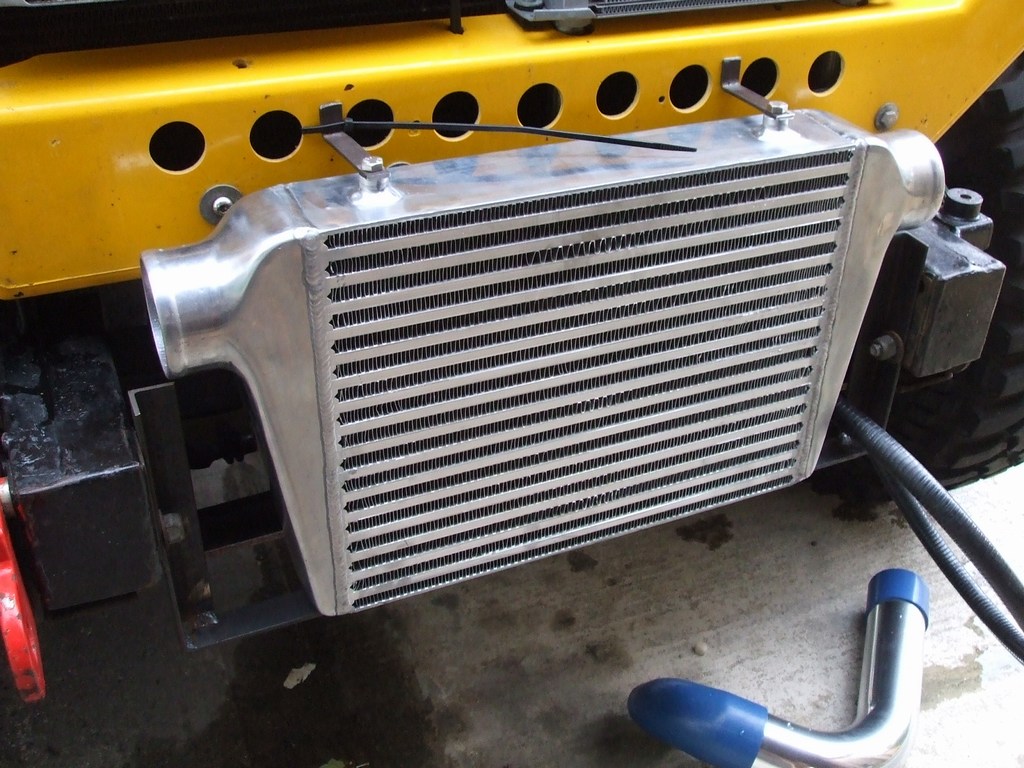
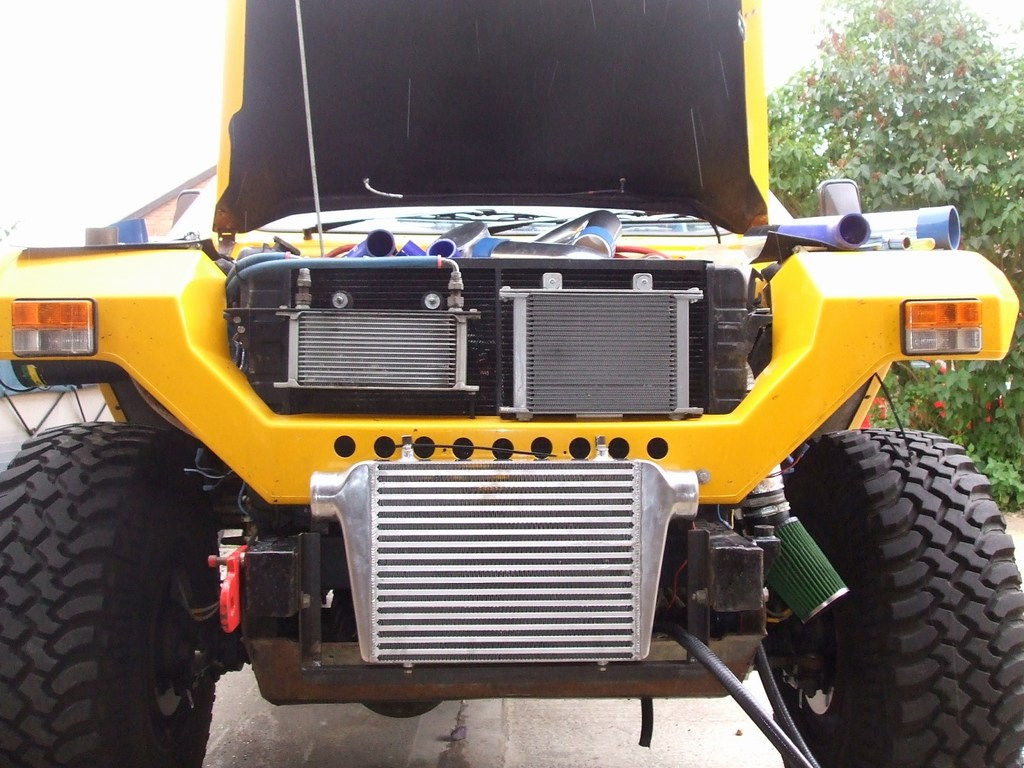
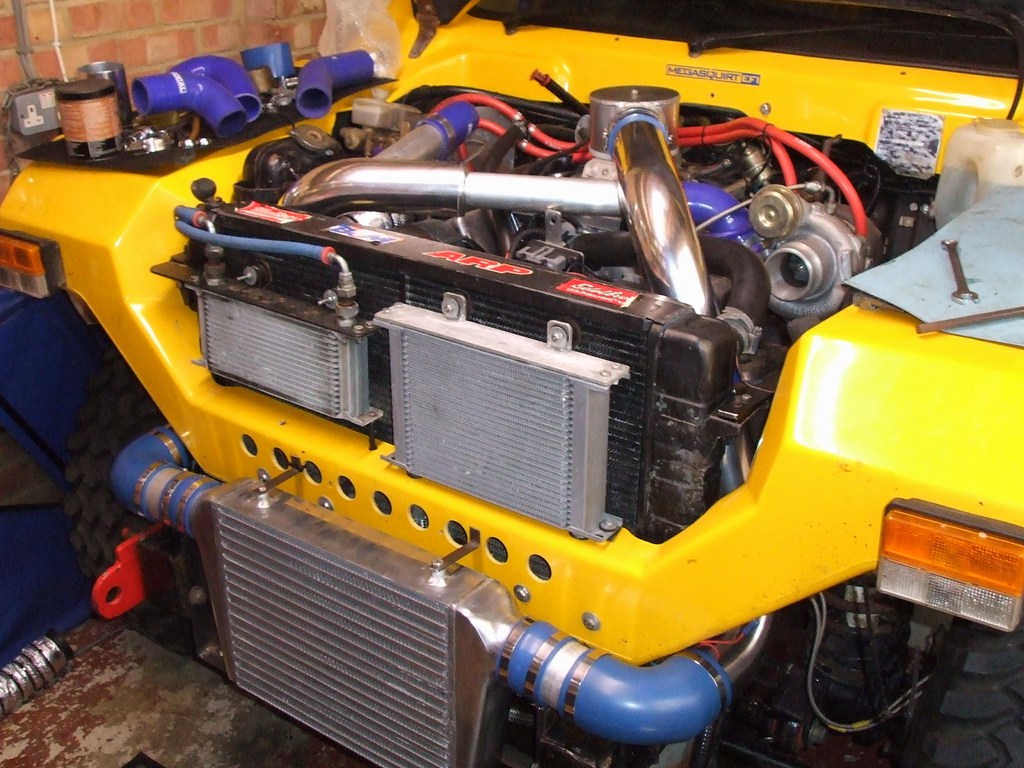
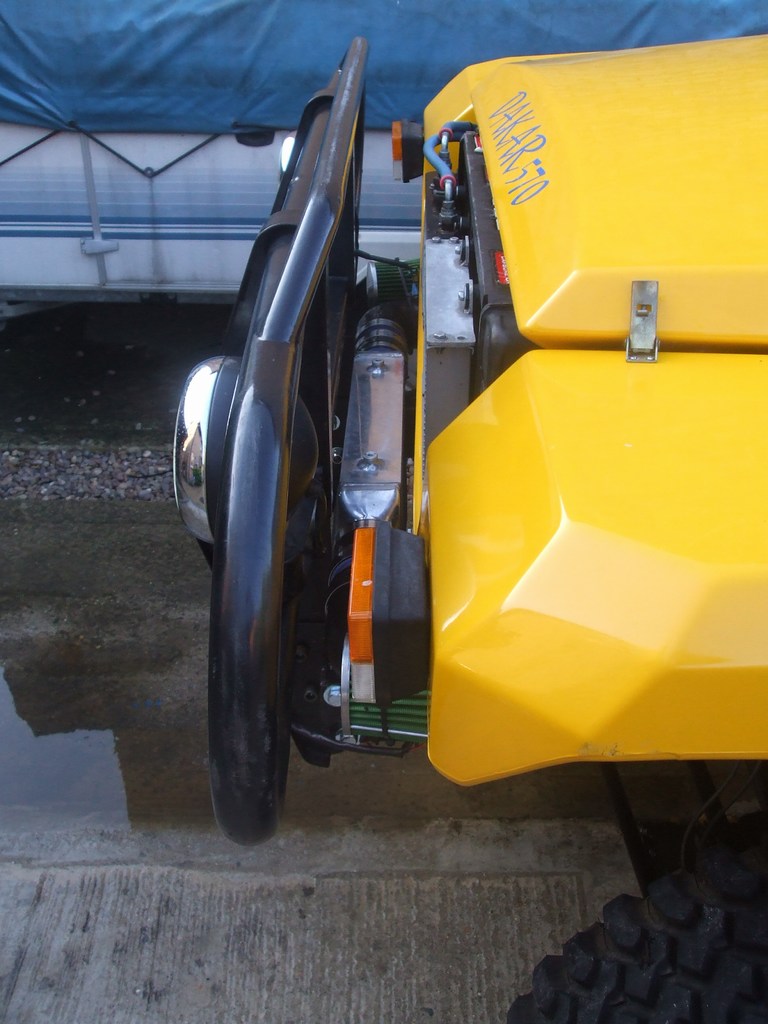
Here's some photos showing how it looks right now. I will probably put the centre spot lights back on for show also.I moved the bumper out a couple of inches to fit the intercooler in:
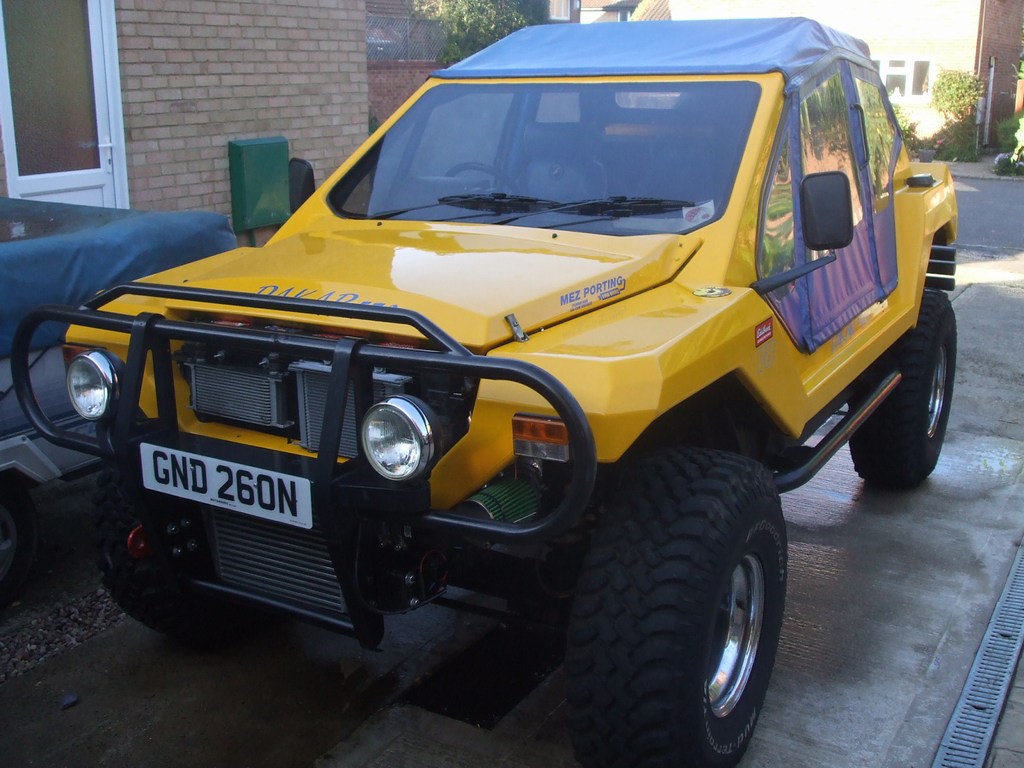
Used decent Mikalor Clamps for the pipework. Cant say I'm in any hurry do redo that
Y merge -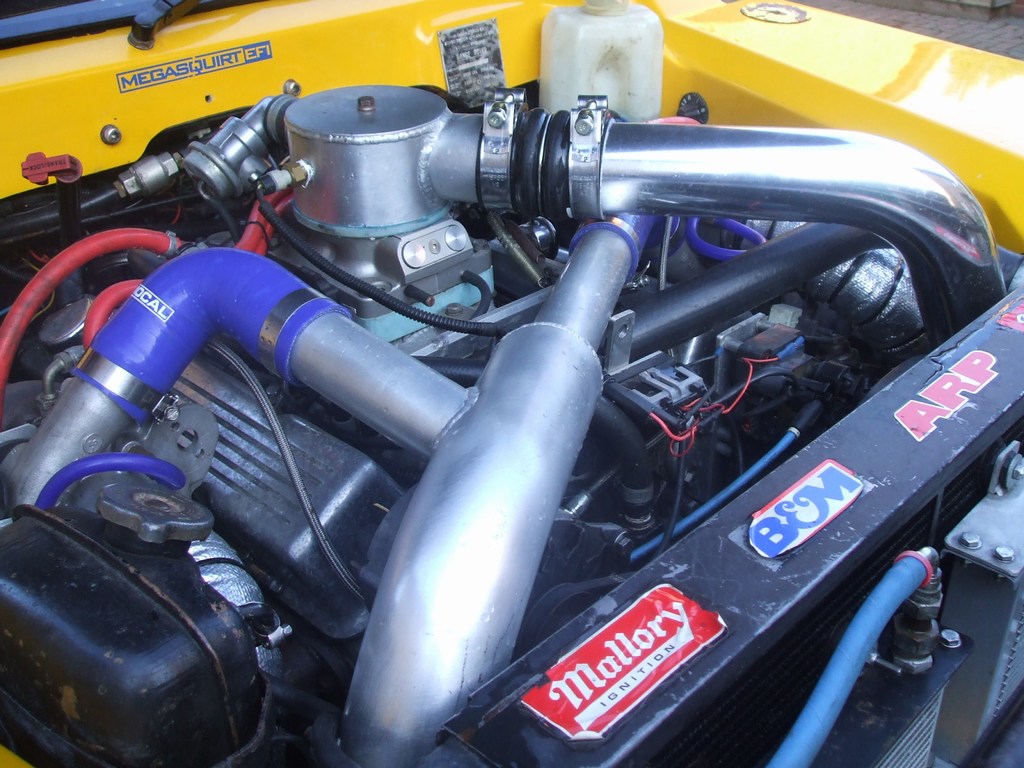
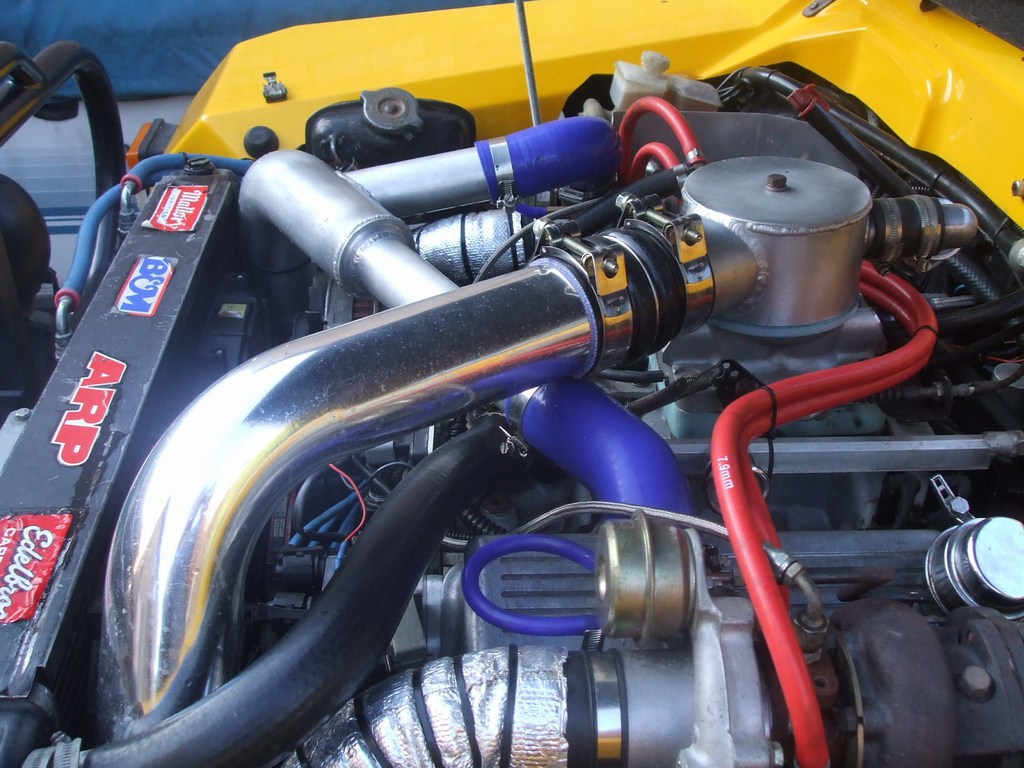
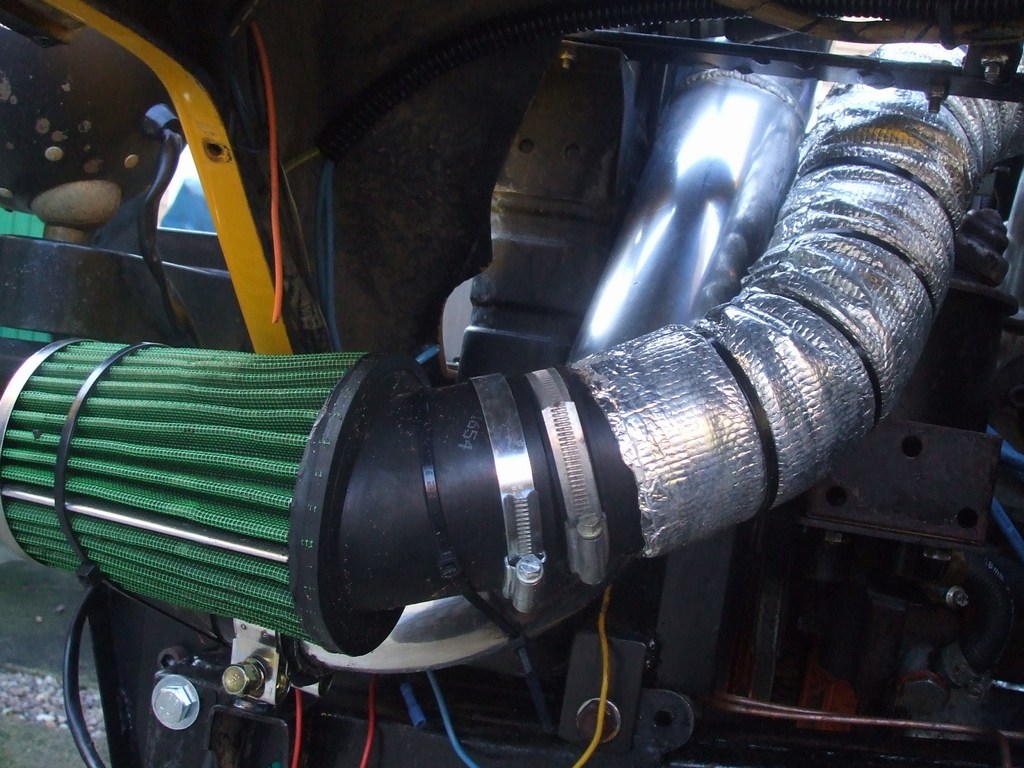
The air filters are in a temporary location -